

Got blocks? We all do!!

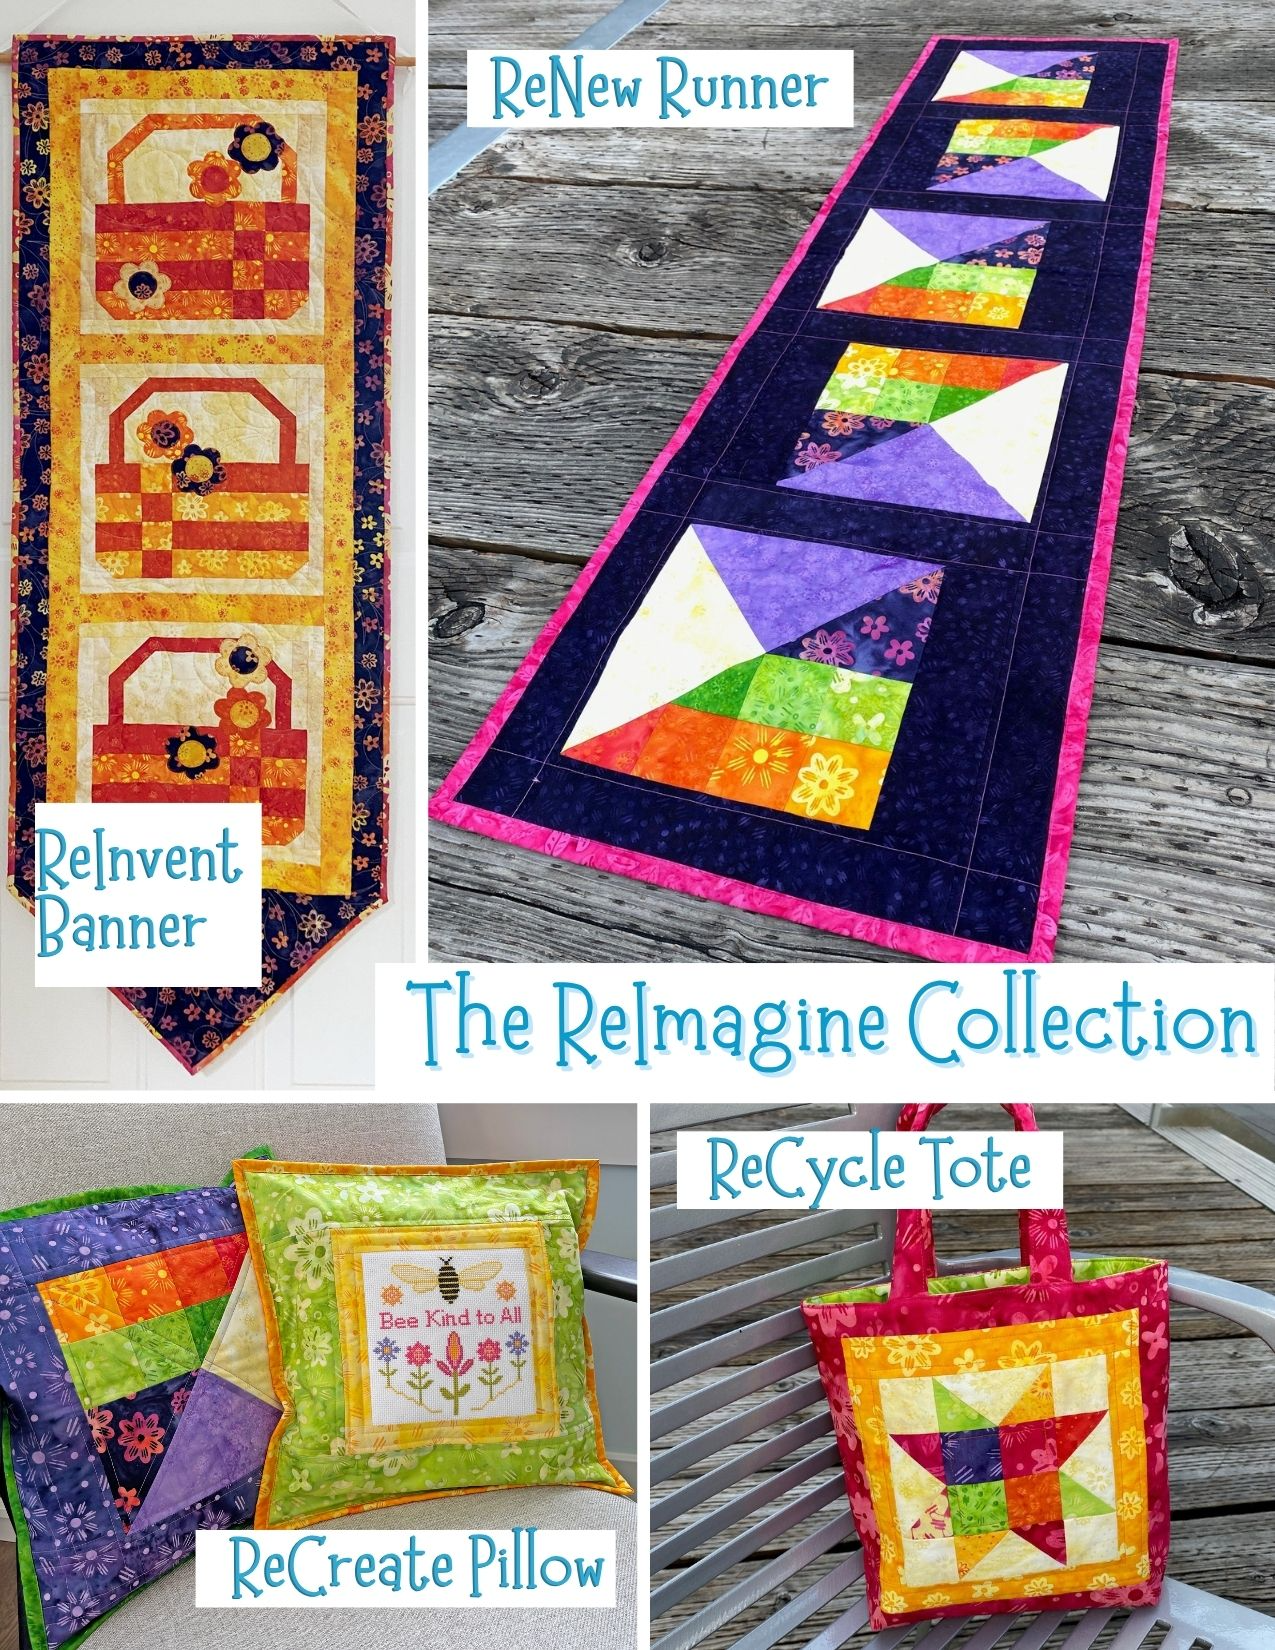
Our Re-Imagine series offers four distinct patterns designed for creative and practical projects using orphan 6”, 8”, 10”, or 12” blocks. These projects are ideal for gifts and make excellent use of our leftover blocks!
Appropriate for advanced beginners through intermediate skill levels, the patterns accommodate test blocks, novelty prints, small panels, embroidery pieces (hand or machine), cross-stitch, pre-cut strips, or fabric scraps.
Important: these patterns do not include instructions for block construction – you’re the designer using your blocks!
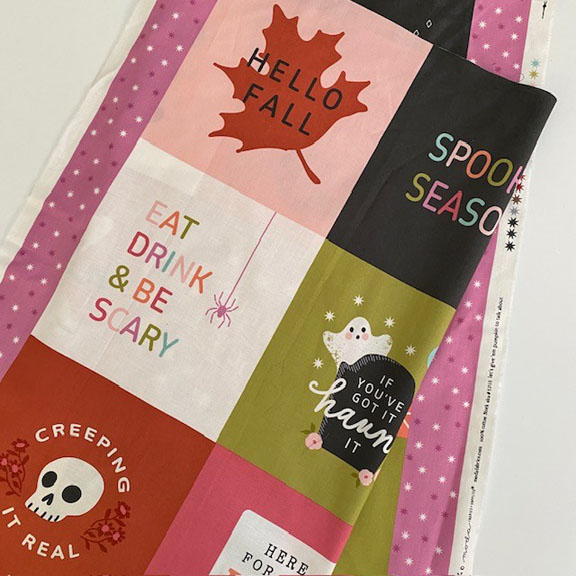
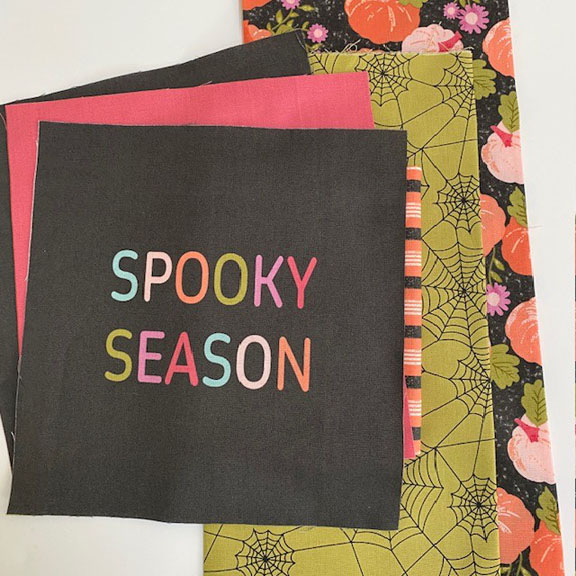
Today I am going to make a banner with a cute panel of squares from Hey Boo! by Lella Boutique. These blocks measure 7-3/4” square. Aren't these cute?
So, let’s talk about adjusting these squares to use in the pattern!
When I placed a 6½" square ruler over the panel motifs, I noticed that cutting them down that much would make them too small and risk trimming too close, even before adding the ¼" seam allowance. So that rules out the 6” block option!
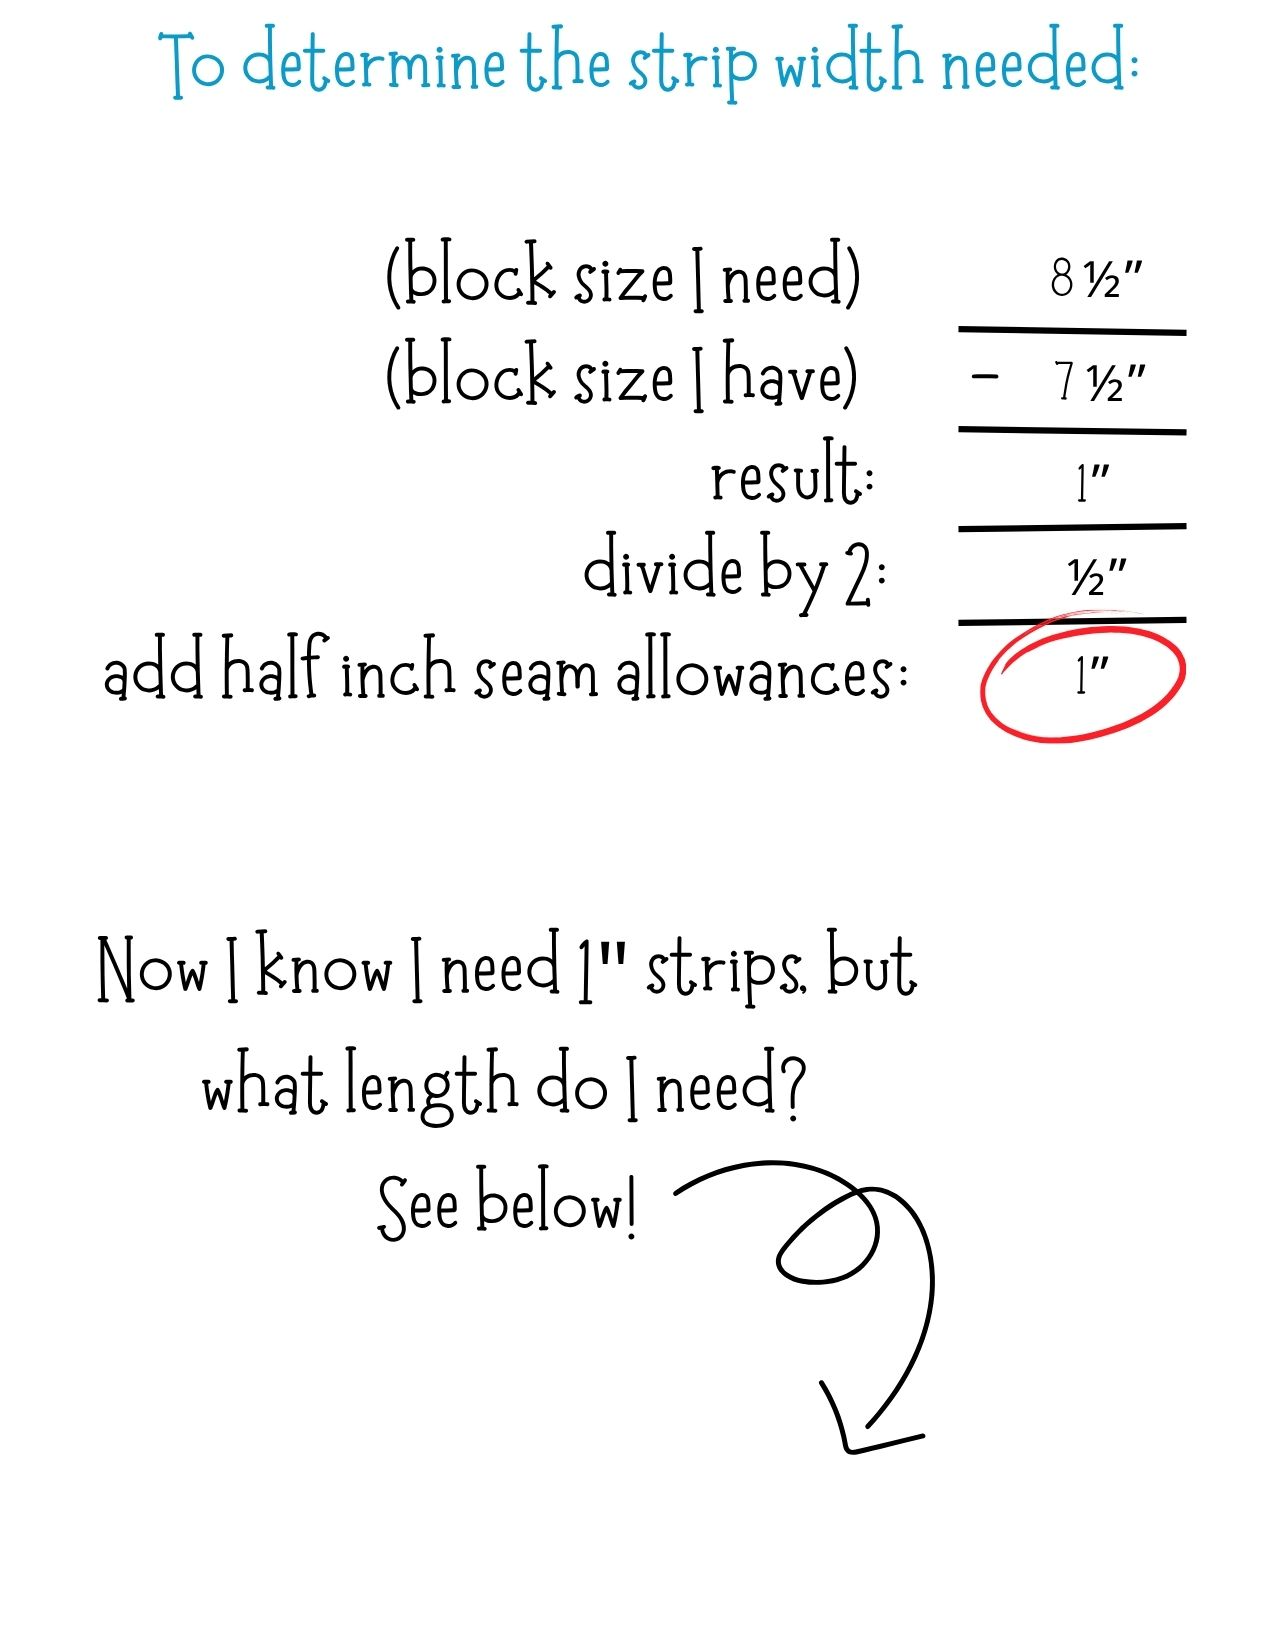
Now I know I must adjust (add) to my block to get an 8” finished block (8-1/2” square cut). I will add strips to the block. First, I cut the block down to 7 ½” square.
To determine the strip width, let’s jump into the quilt math; easy peasy! Subtract the size that the block is right now (7 ½”) from the size that you need (8 ½”) then we will divide in half (because I want strips on both sides), then add ½” for seam allowances!
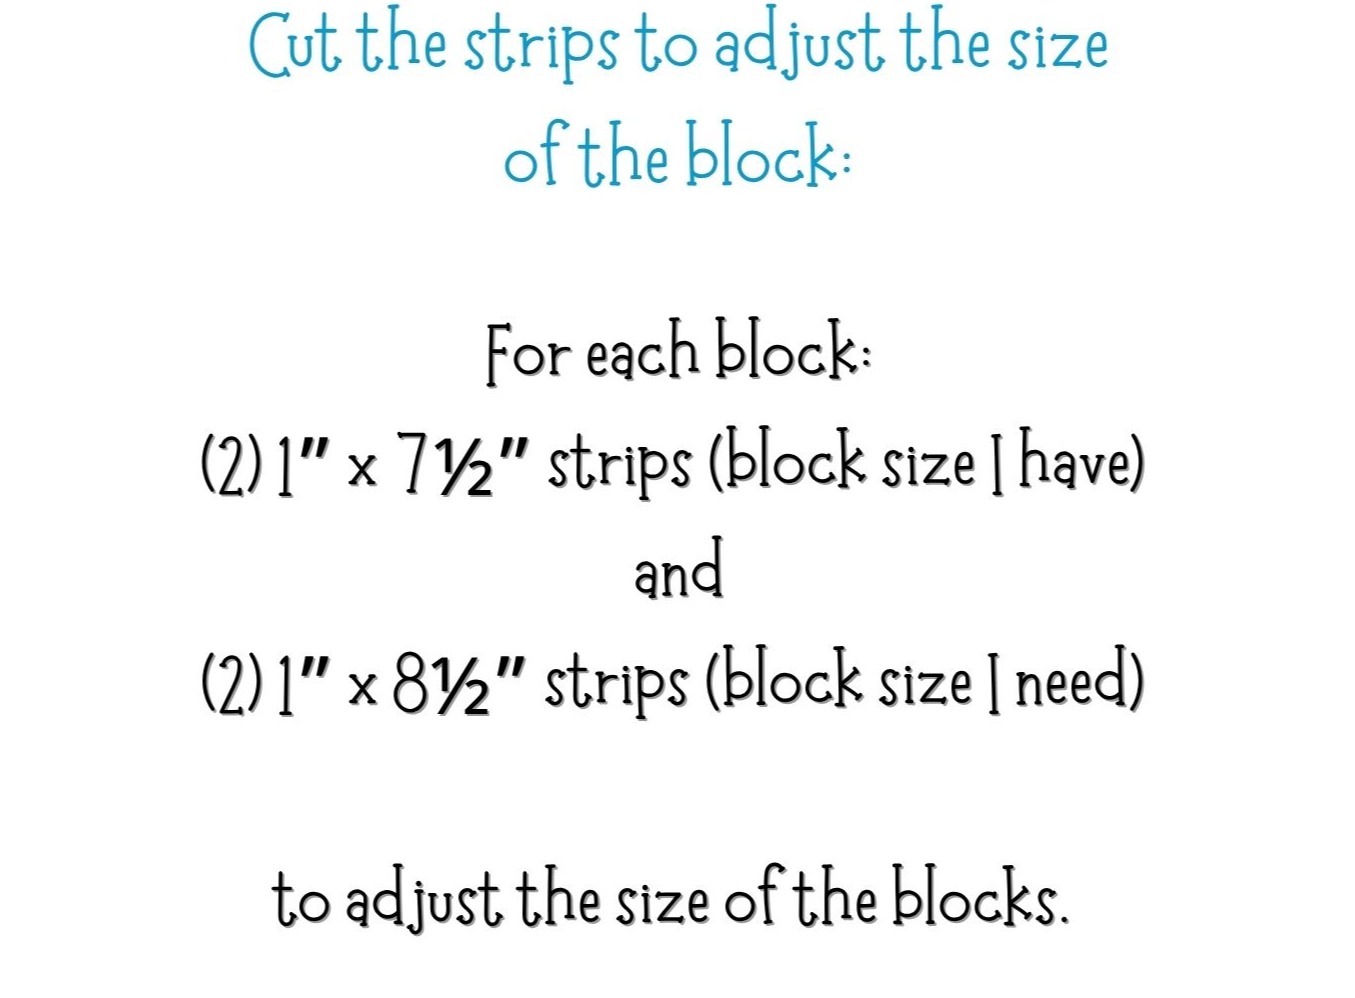
I have the strip width, so I know I have to start with the length of the block I have, but here you go:
So here’s the fabric that I decided to use:
I'll use the orange stripe for my adjustment strips, the green spider webs for sashing and black pumpkins for the borders! Fun!
So lets add the striped strips to get the blocks to 8 ½” – here’s the result:
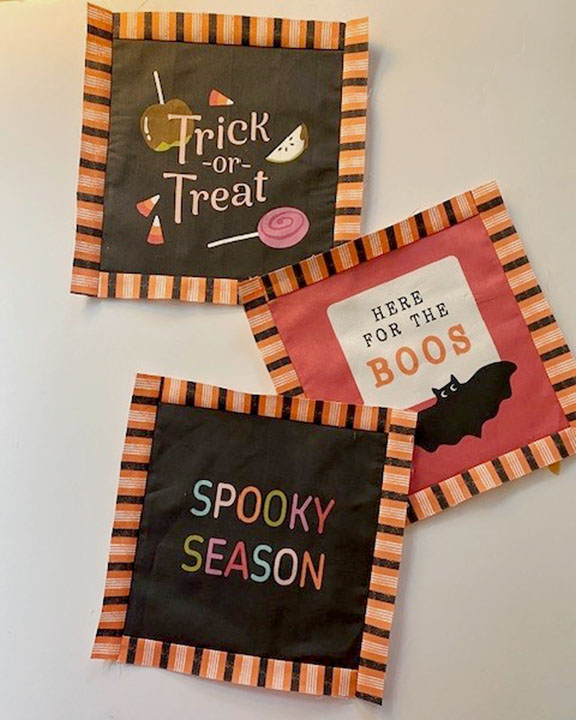
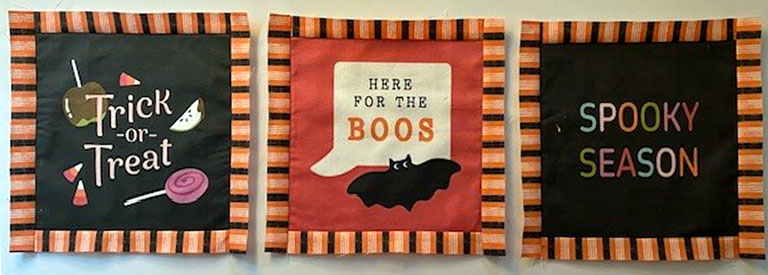
Although the instructions demonstrate arranging blocks vertically, you can create different looks by placing them horizontally as well:
Let’s add spider webby sashing!

And pumpkin borders!
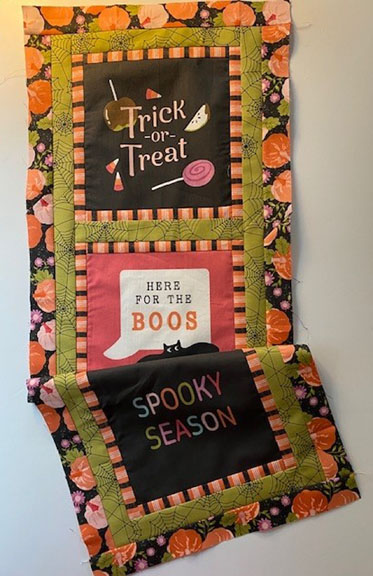
Let’s sandwich the banner and add some simple walking foot quilting – this is a small piece so no intricate quilting required! I stitched in the ditch around the blocks, then echo quilted around the sashing and the border.
I veered from the instructions and added hanging corners instead of a hanging sleeve. I used (2) 3 ½” squares, folded in half diagonally. Then applied to back of banner so that it can be hung using a simple dowel.
Here is the final banner! How fun! And easy – using that panel that I didn’t have a project for!
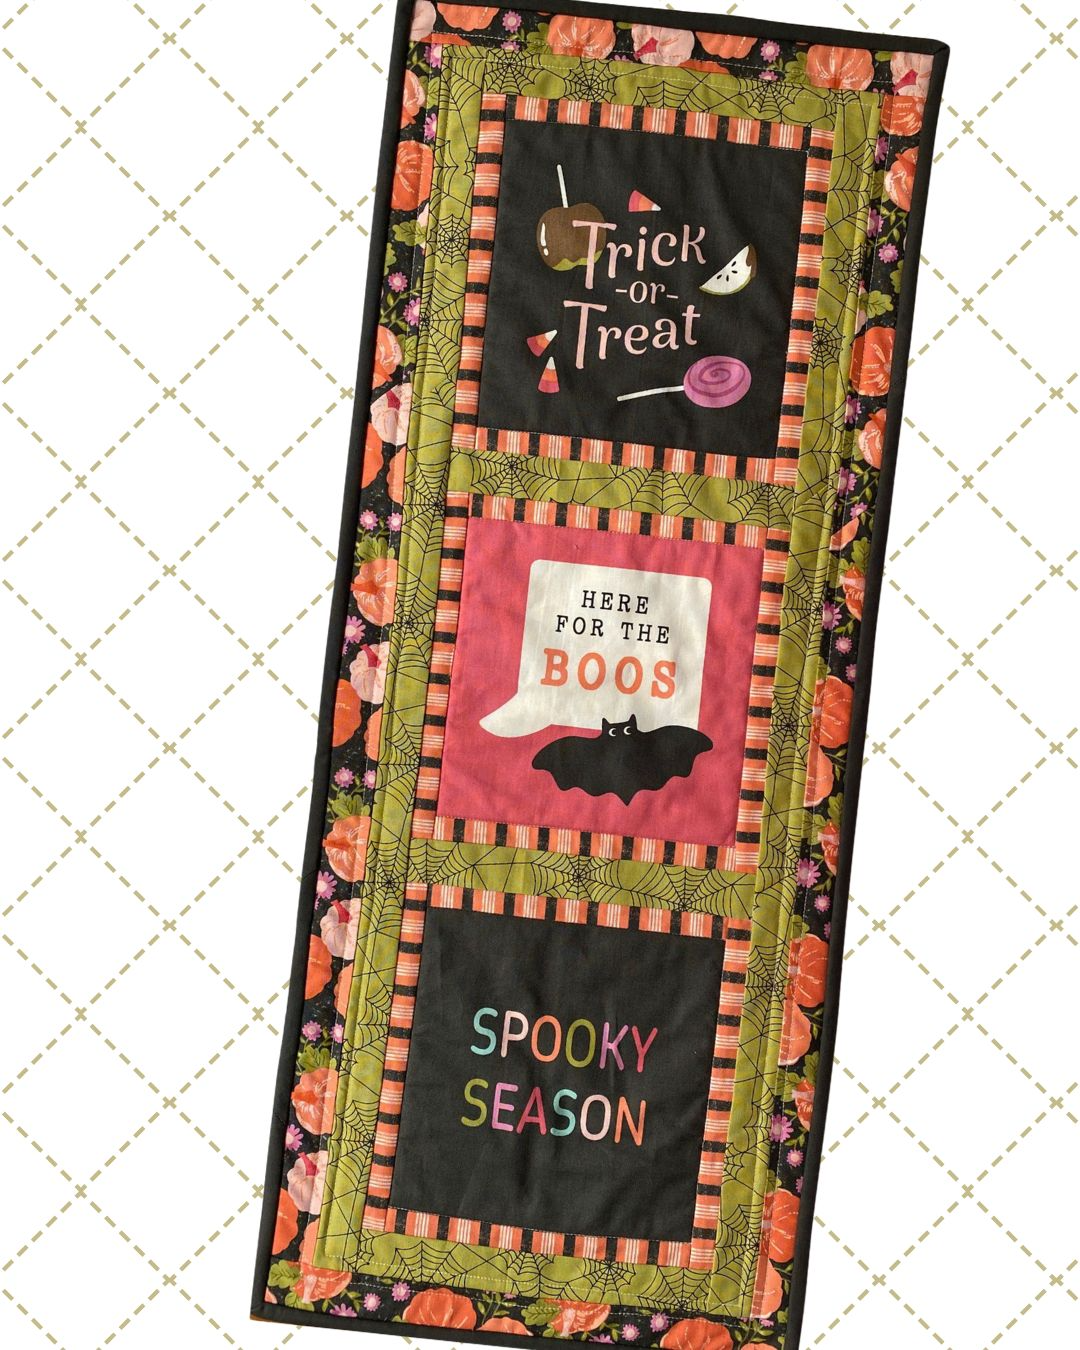
Now I can make more – perfect for giving! I hope you will check out the ReImagine series - put those leftover blocks to good use!
Hugs!
-Kris