
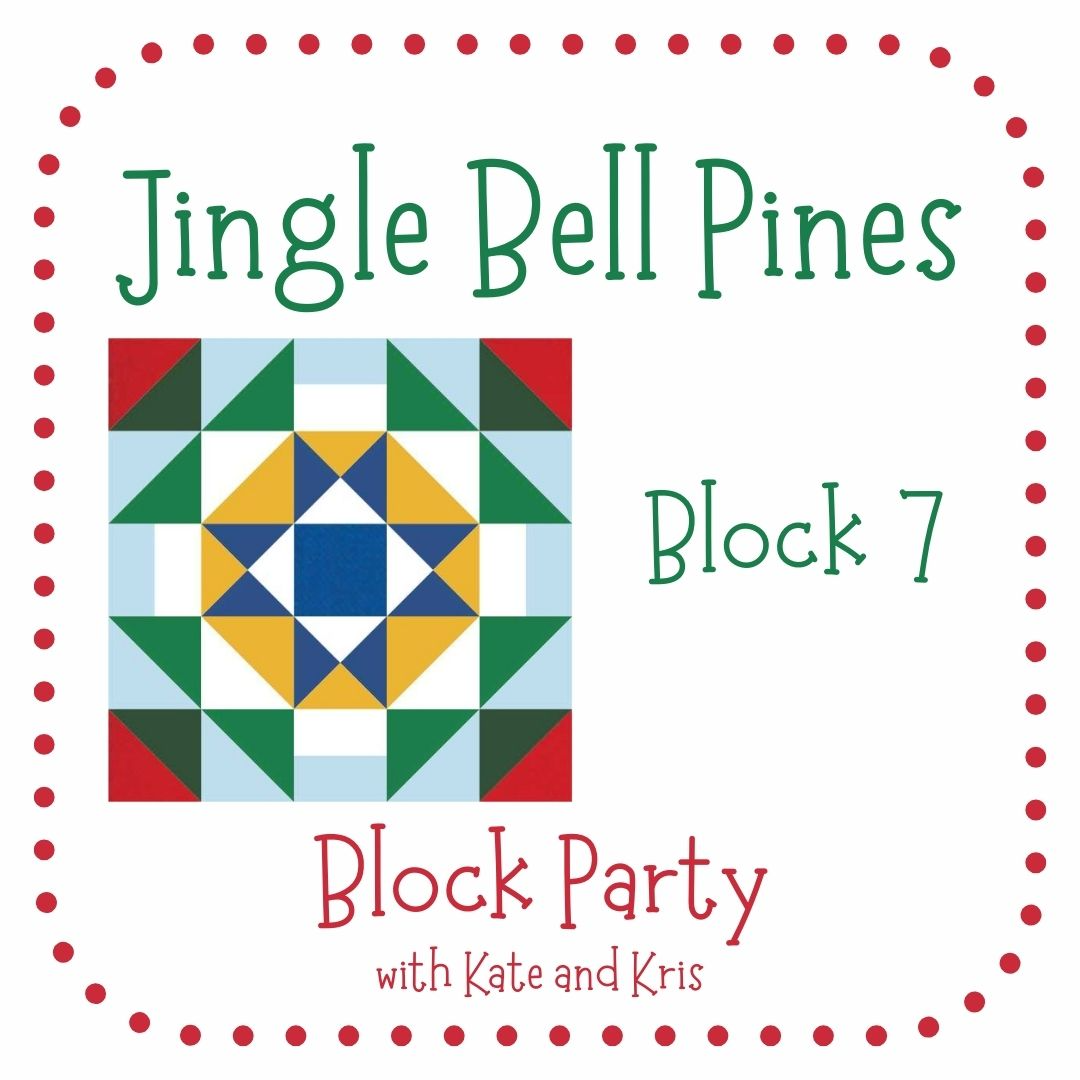
The Rose Star is the star of the week – it’s Week 7 of the Jingle Bell Pines Block Party!
Kate Colleran (of Kate Colleran Designs) and I are compiling tips to help you complete your Jingle Bell Pines Quilt one block at a time for the holidays! We post tips (and more) every Thursday on Instagram and delve a bit deeper on our blogs.
And bonus – we are joined by @alisonsexpressions (on Instagram) – she’s making the quilt right along with us as well, using Thatched and Dotty Thatched from @modafabrics! Loving her take on this project!
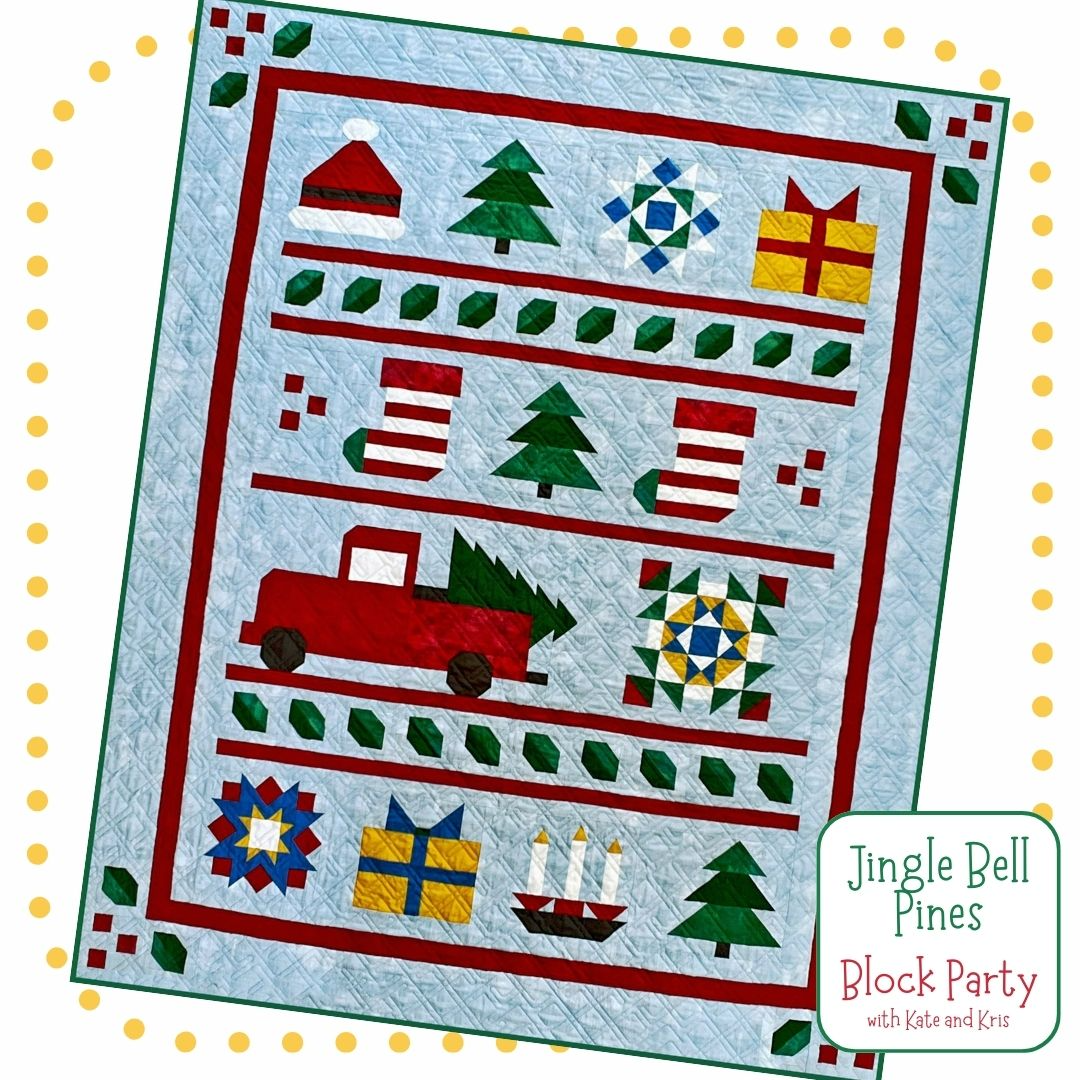
For more information on getting started (it’s not too late!) – visit my blog post here!
Looking at the Rose Star block, you can see that around the blue center, there are 4 quarter square triangles. Very striking! I went through how to make QSTs in block 3 – you can visit it here.
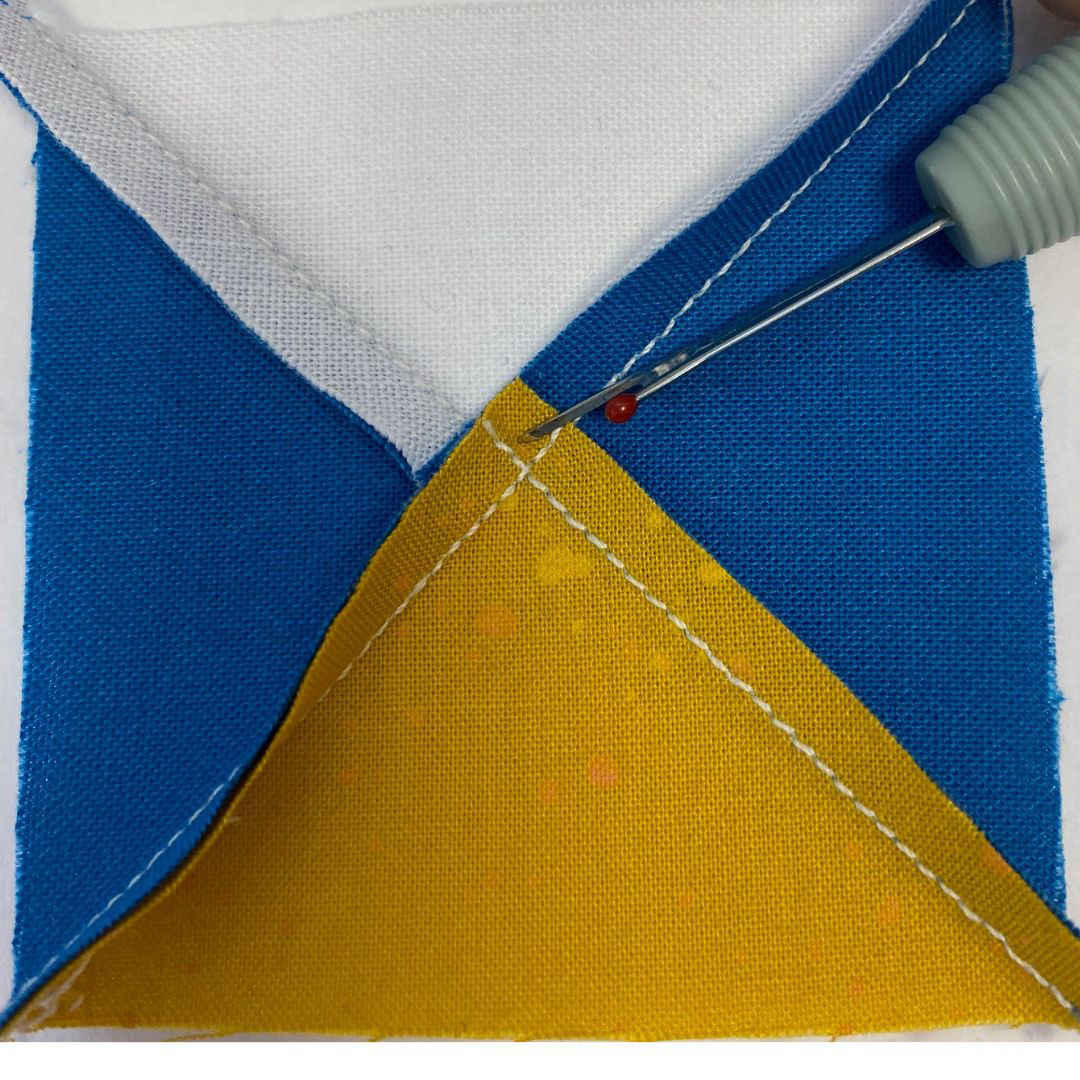
Let’s look at how to swirl the seams to reduce bulk and create a really professional finish! We are starting with the Quarter Square triangle unit; in the image below, the last seam is not pressed.
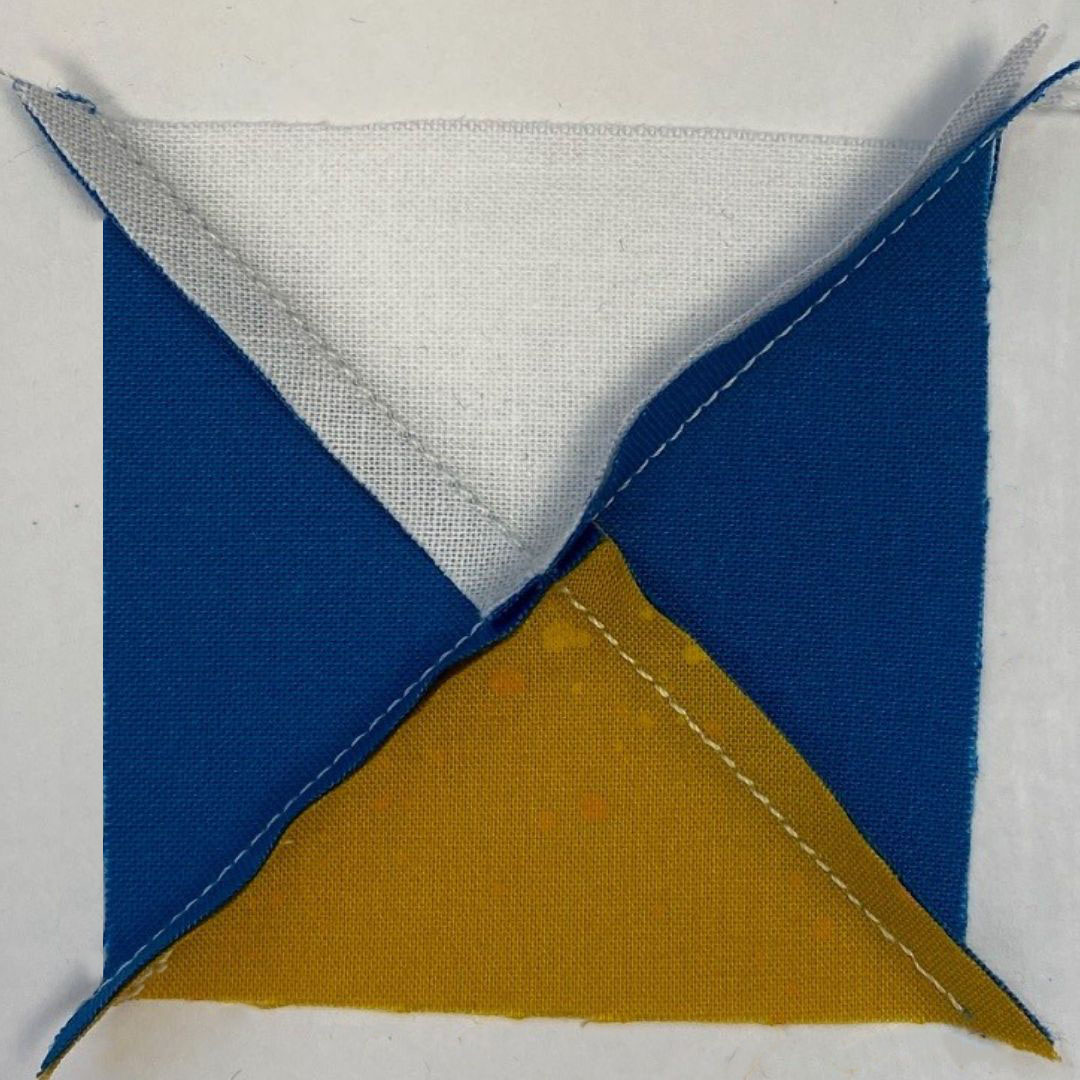
Right in the center of the QST unit, unpick the stitching within the seam allowance.
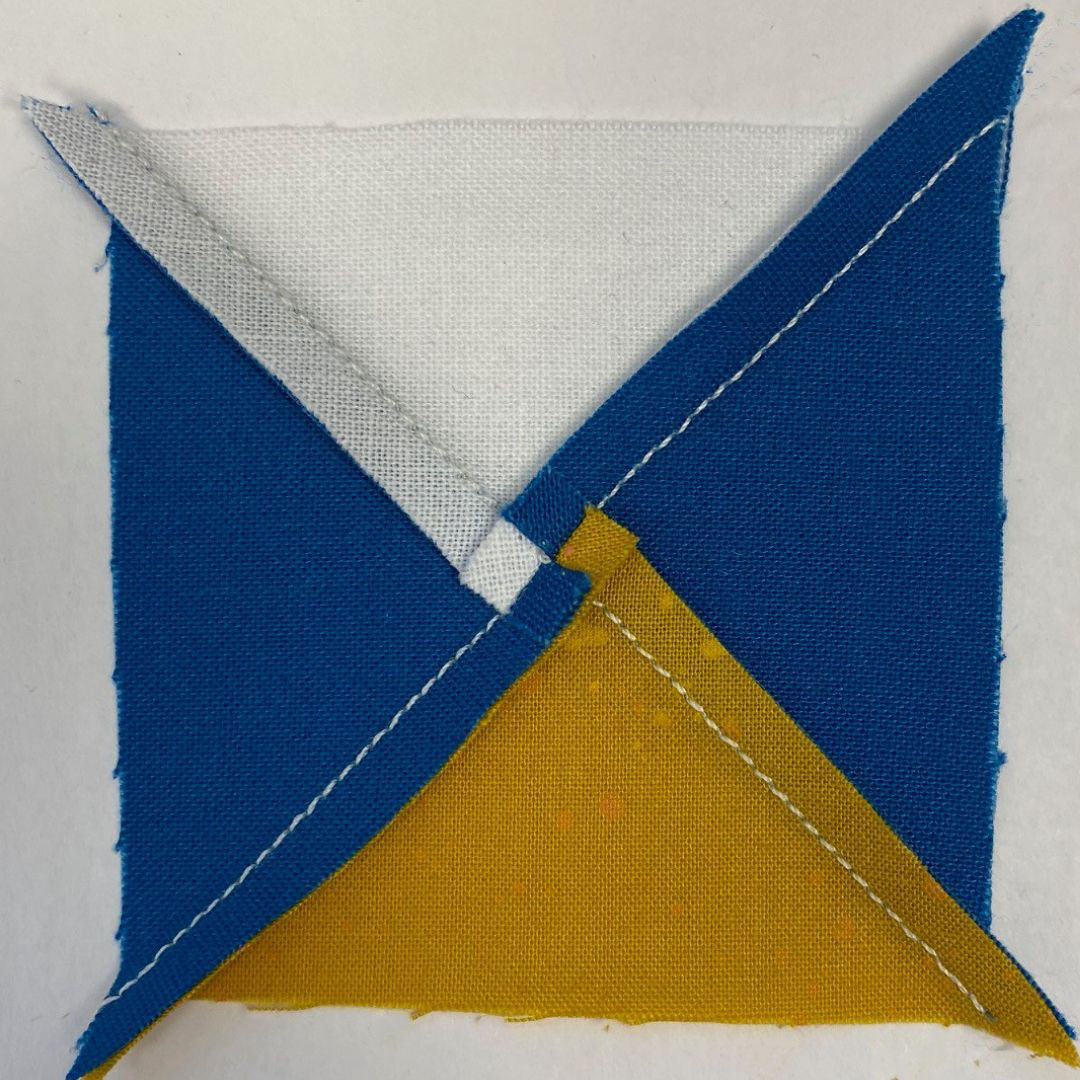
Now you can swirl the seams. In this case, all the seams are arranged counterclockwise around the center. Use the tip of your iron to flatten the center.
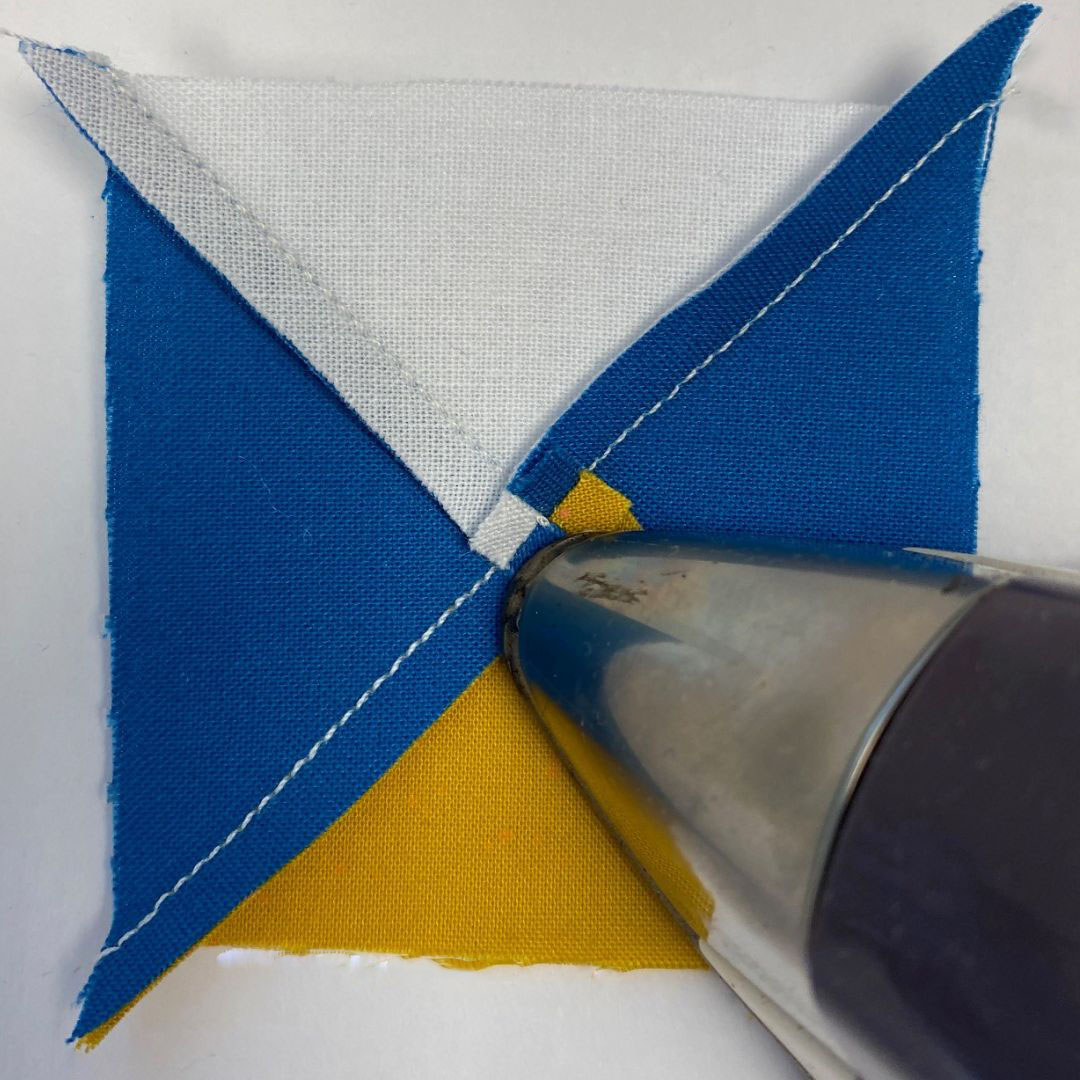
Notice how you get a little 4 patch in the center!
When you flip the unit to the right side, you will see how flat and professional this unit looks!
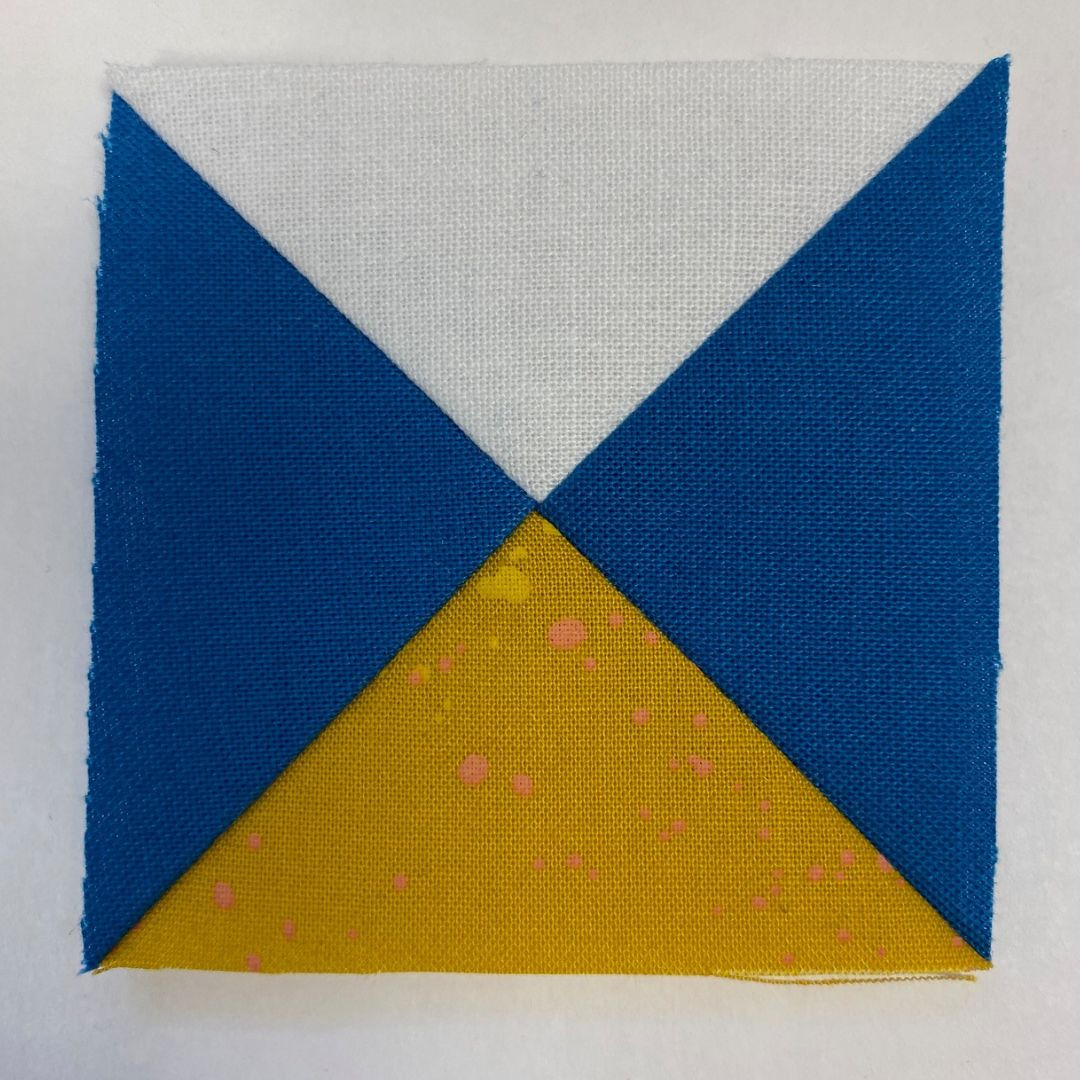
With just a bit of extra care, you can really level up your piecing!
Next week is block 8 and we’ll be ready to share some tips on partial QSTs!
Until next time – have fun sewing your Rose Star block!
Hugs! Kris