

Time for Block 3!
The Jingle Bell Pines Block Party is on again today with Block 3!! Join Kate Colleran (of Kate Colleran Designs) and I for tips on completing your Jingle Bell Pines Quilt one block at a time – just in time for the holidays! We will post tips (and more) every Thursday on Instagram and delve a bit deeper on our blogs.

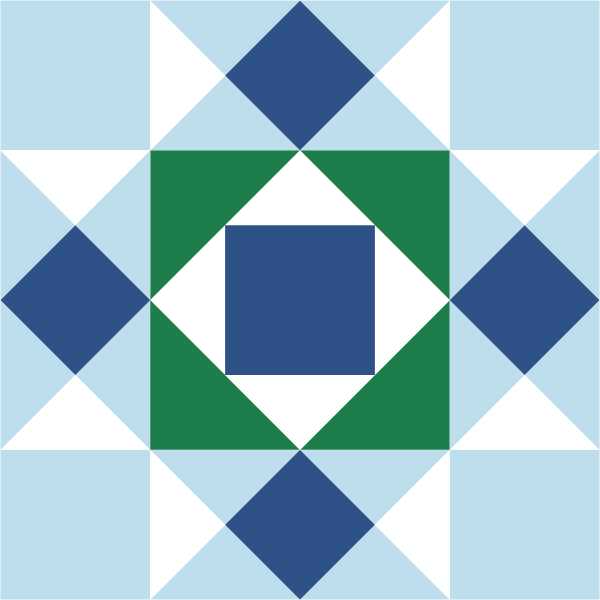
Today’s block is the Winter Star block! (This might be my favorite block of the quilt… we’ll see!)
For more information on getting started (it’s not too late!) – visit my blog post here!
The Winter Star block starts out with a square in a square and ends with hourglass blocks or quarter square triangle units around the outside.
Last week, we went back to basics and tested our ¼” seam; because this is a somewhat intricate block, that exercise will definitely come in handy this week!
Let’s start with cutting accurate half square triangle shapes for the center unit. To cut HST, simply cut from corner to corner…but… before you dive in, let’s do a bit more to ensure that the cut results in 45-degree triangles!
Grab a ruler with a 45-degree line.
Line up the 45-degree line along one outer edge of your square; position the corner of your ruler at the corner of the square.
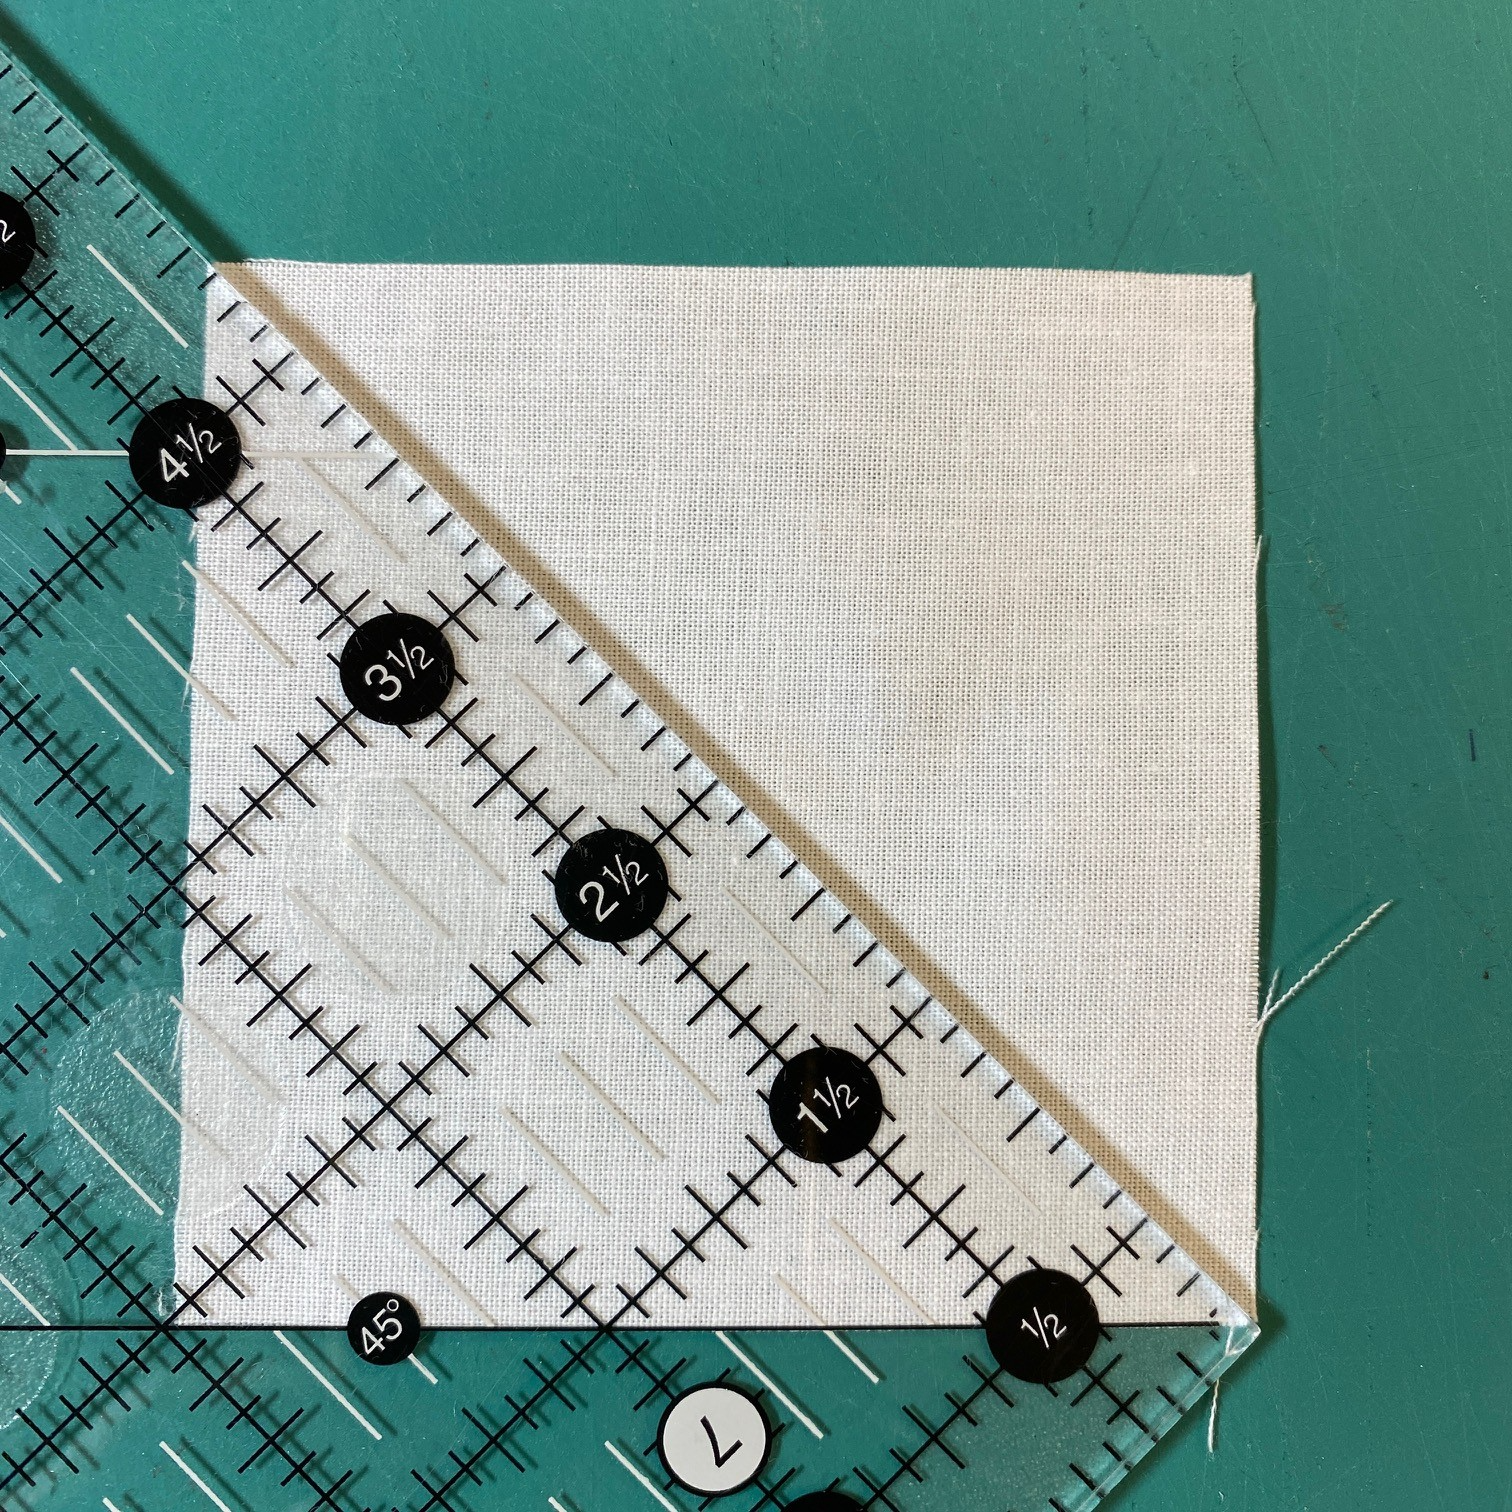
Make sure that the edge of the ruler passes through the corner diagonally opposite from the first corner.
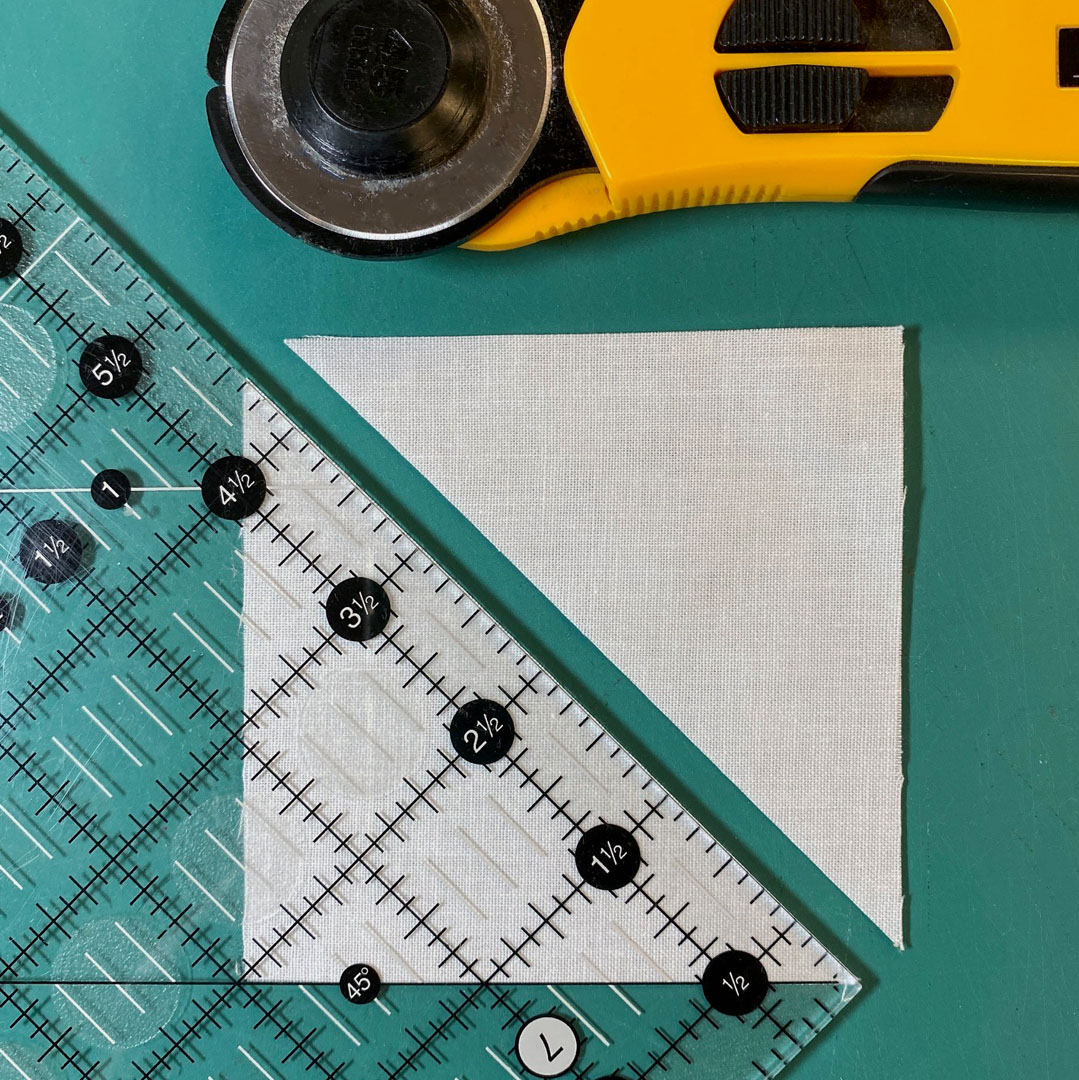
Rotary cut along the diagonal. Voila! A set of accurate HSTs, ready for piecing that square in a square center unit!
Now, let’s move on to the outer hourglass or QST units. We will start with 4 squares:
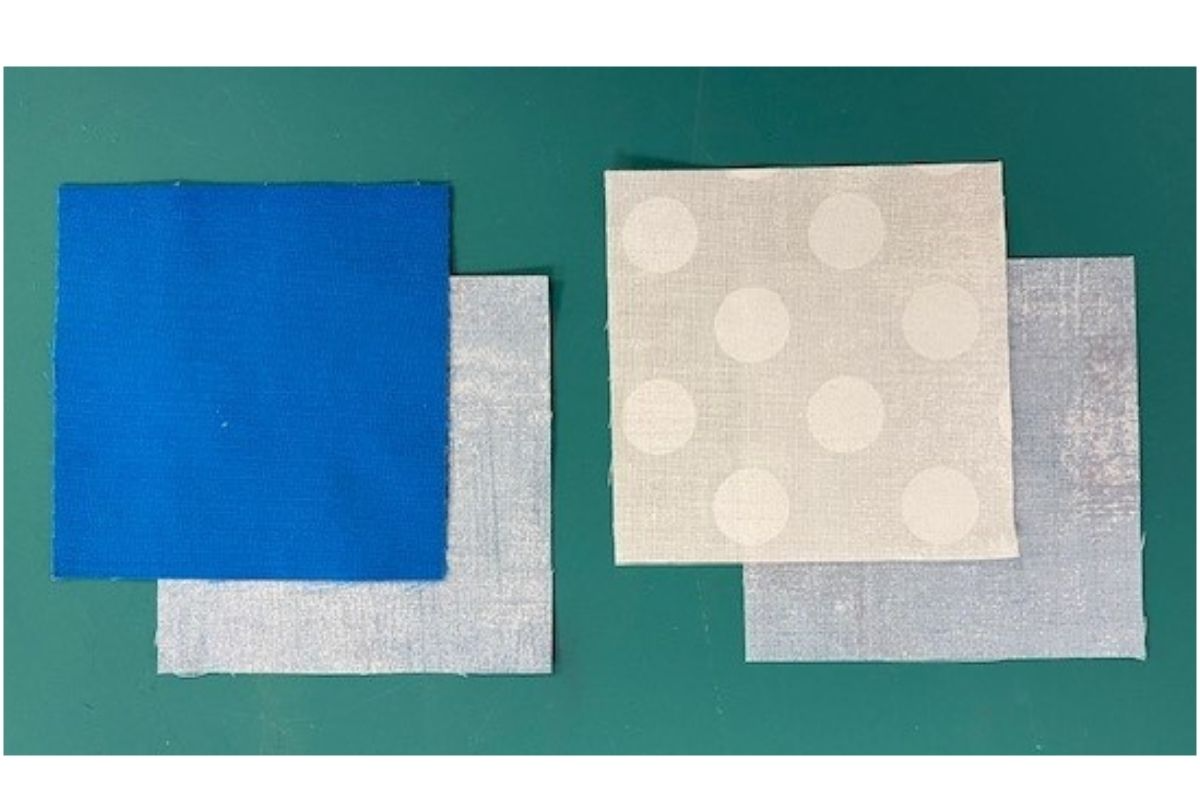
To make 4 HST from these squares, pair up and mark one of the squares diagonally. (We will use the same method that we just used to cut HST; this time, just use a pen instead of a rotary cutter!)
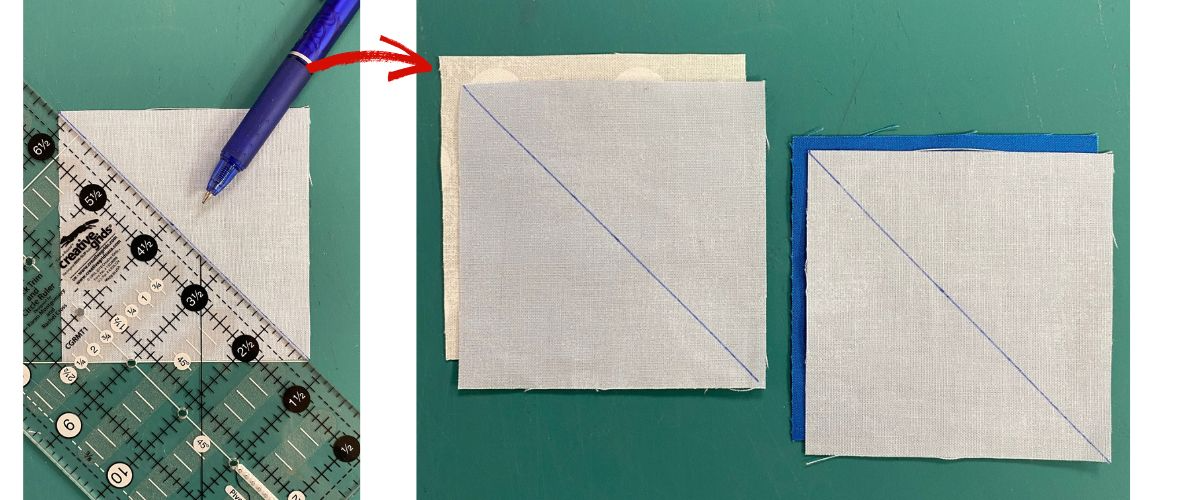
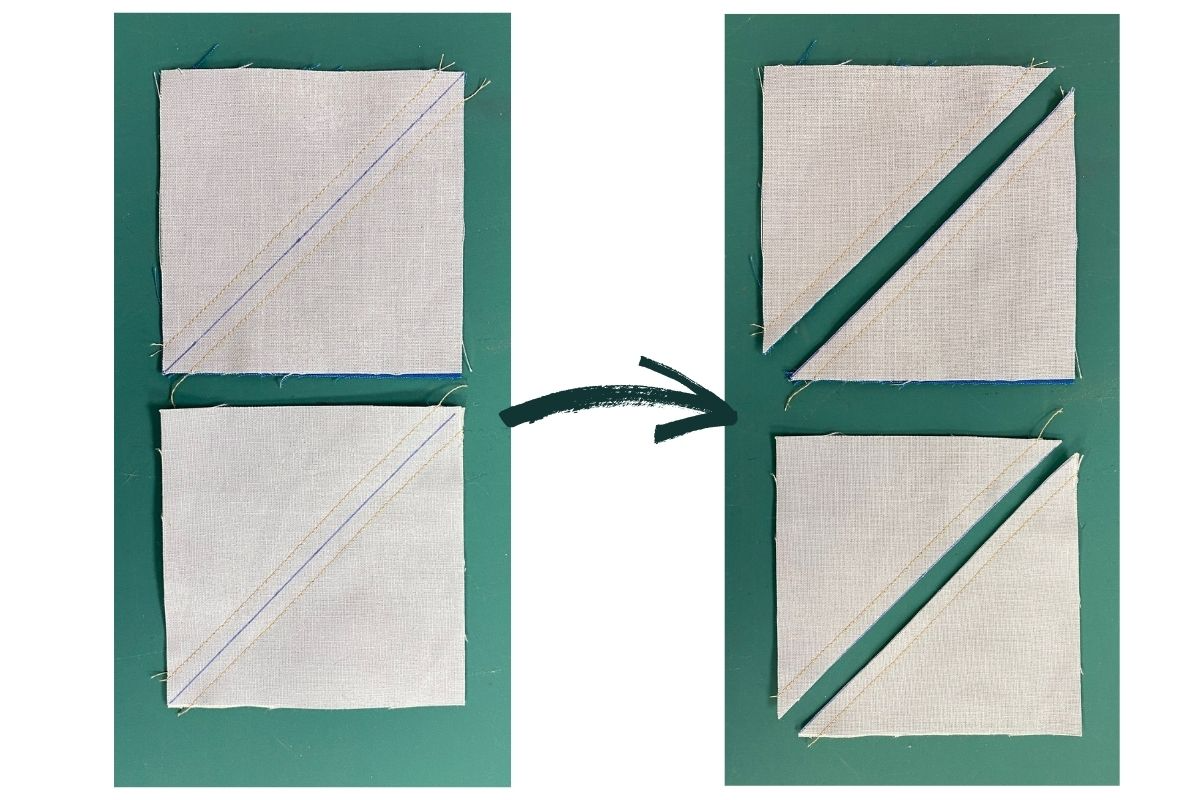
Pair up a light blue background with a white square, and a light blue with a medium blue square. Stitch ¼” from both sides of the marked line.
Cut the squares along the marked line and the result is 4 HST – 2 light blue/white and 2 light blue/medium blue.
Press as directed in the pattern, towards the light blue background.
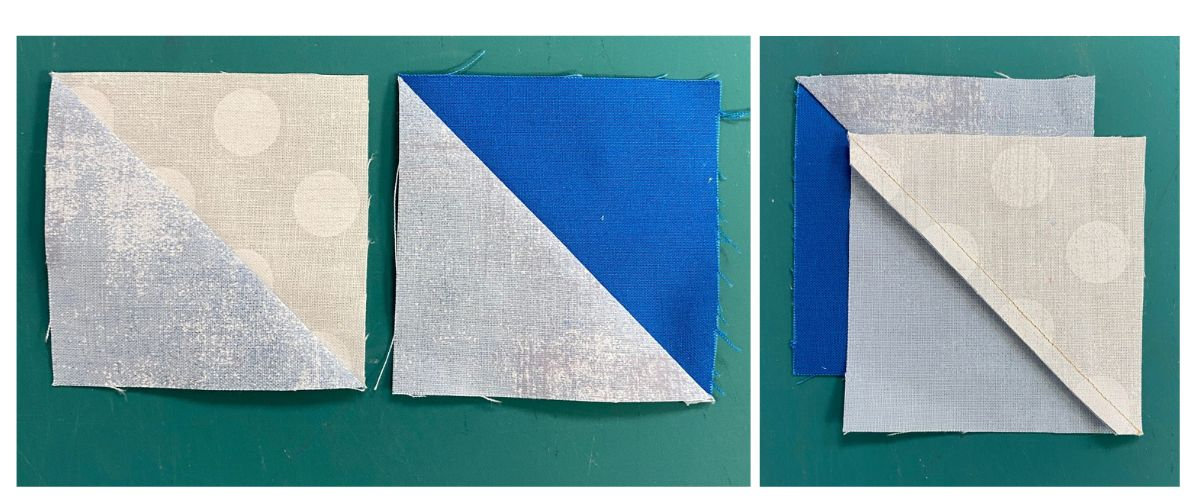
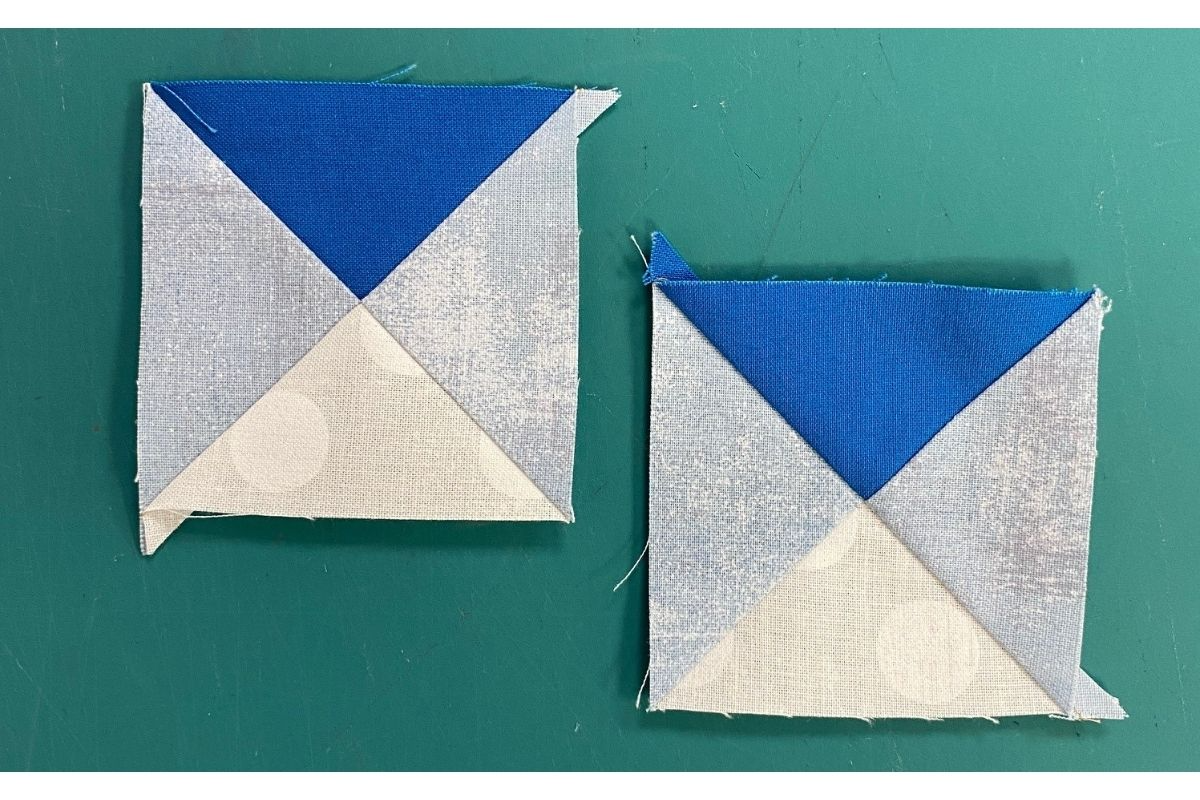
Pair the HST up to make the QST as follows:
- Position the medium blue unit face up oriented as shown below.
- Position the white unit right sides together with the medium blue unit; the seams will nest.
Mark another 45-degree line from corner to corner as shown below. Stitch ¼” on both sides of the marked line. Cut the units apart on the marked line.
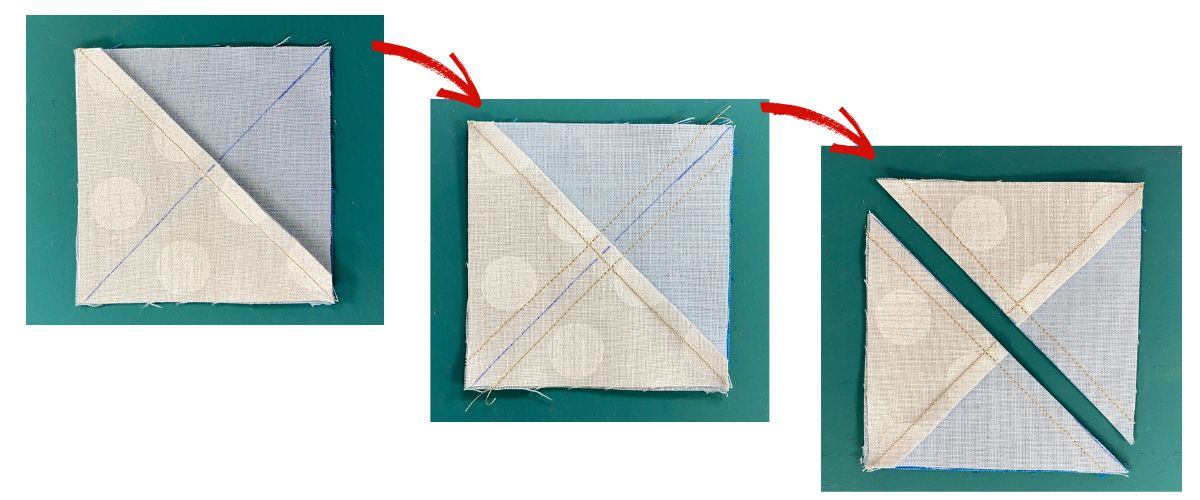
Drum roll, please....the resulting QST units!
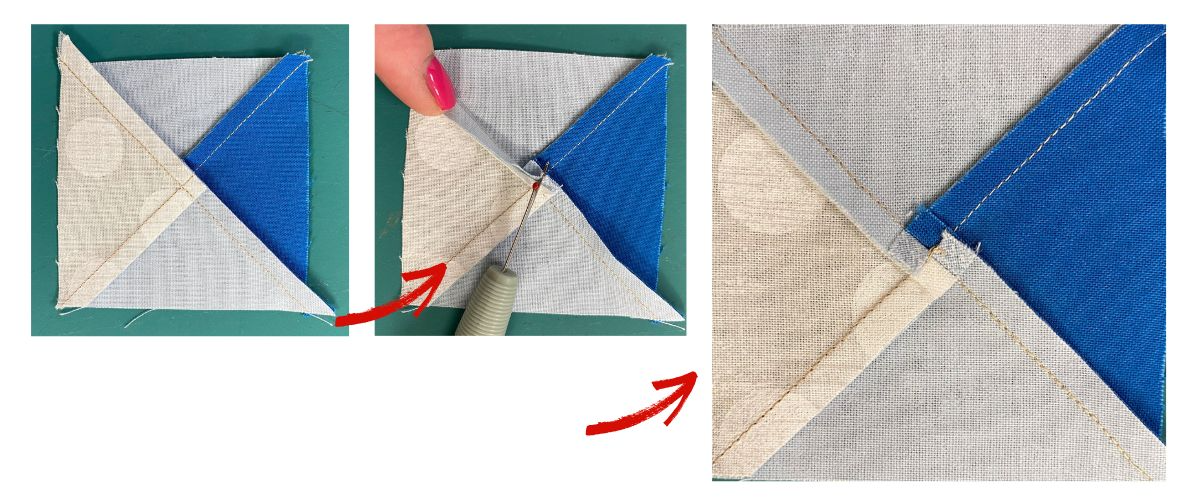
To reduce bulk in the center, I will spin the seams. Here’s a great tutorial from Kate that explains spinning (rotating, swirling) seams.
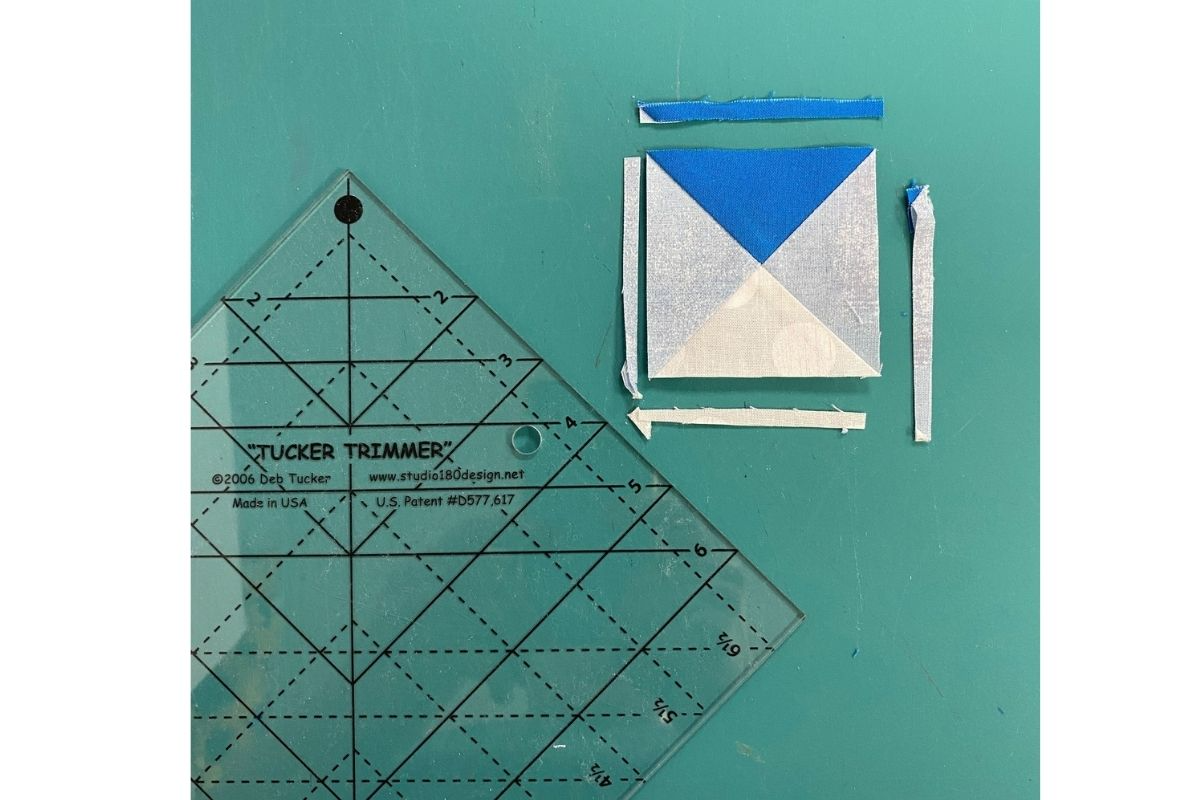
It's Tool Time!
My favorite tool this week is the Tucker Trimmer ruler by Studio 180! I love this ruler because it is designed specifically to trim down triangle units such as QST. Here is a link to Deb Tucker’s tutorial on using it for Hourglass units!
The final pieced unit looks like this:
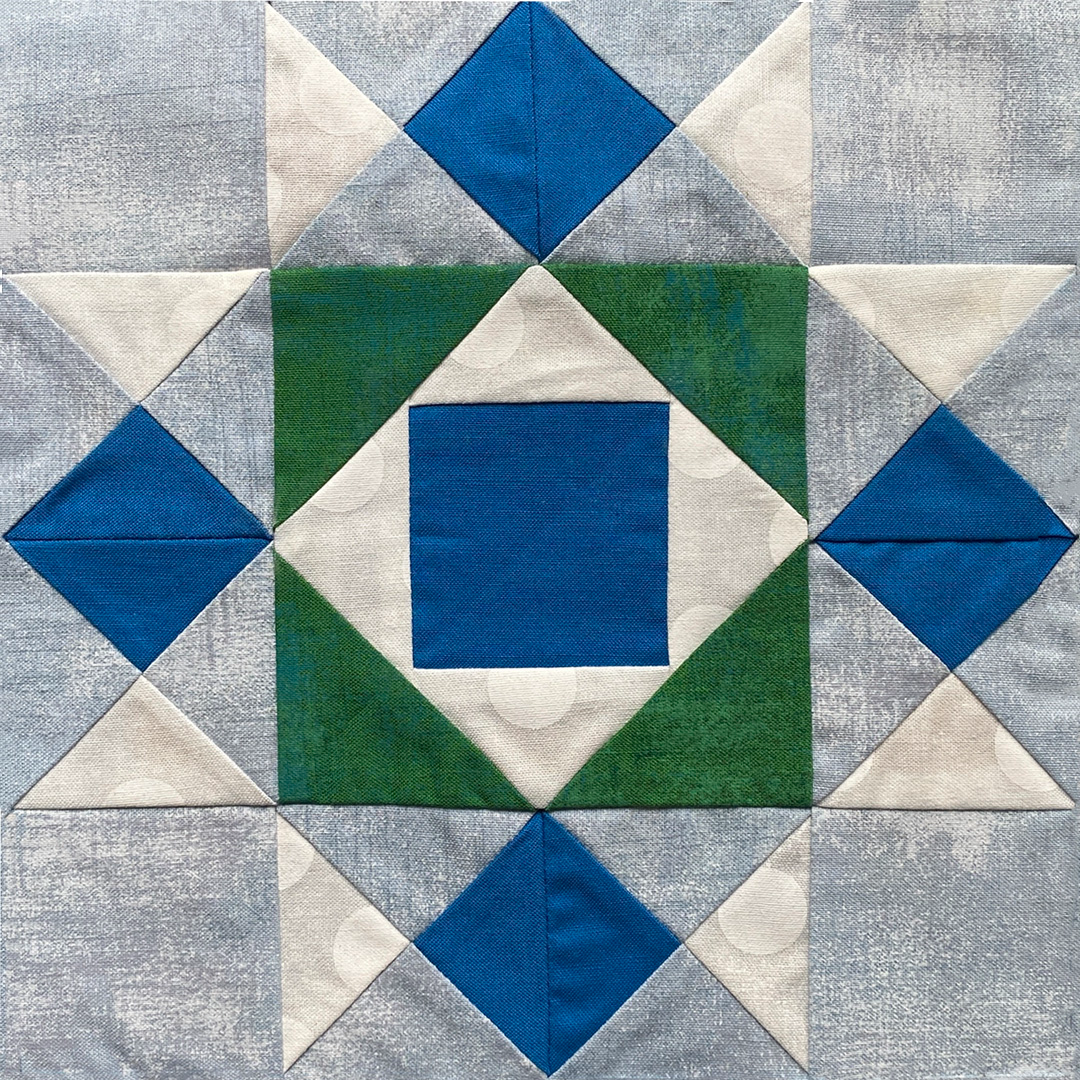
So satisfied with the results!
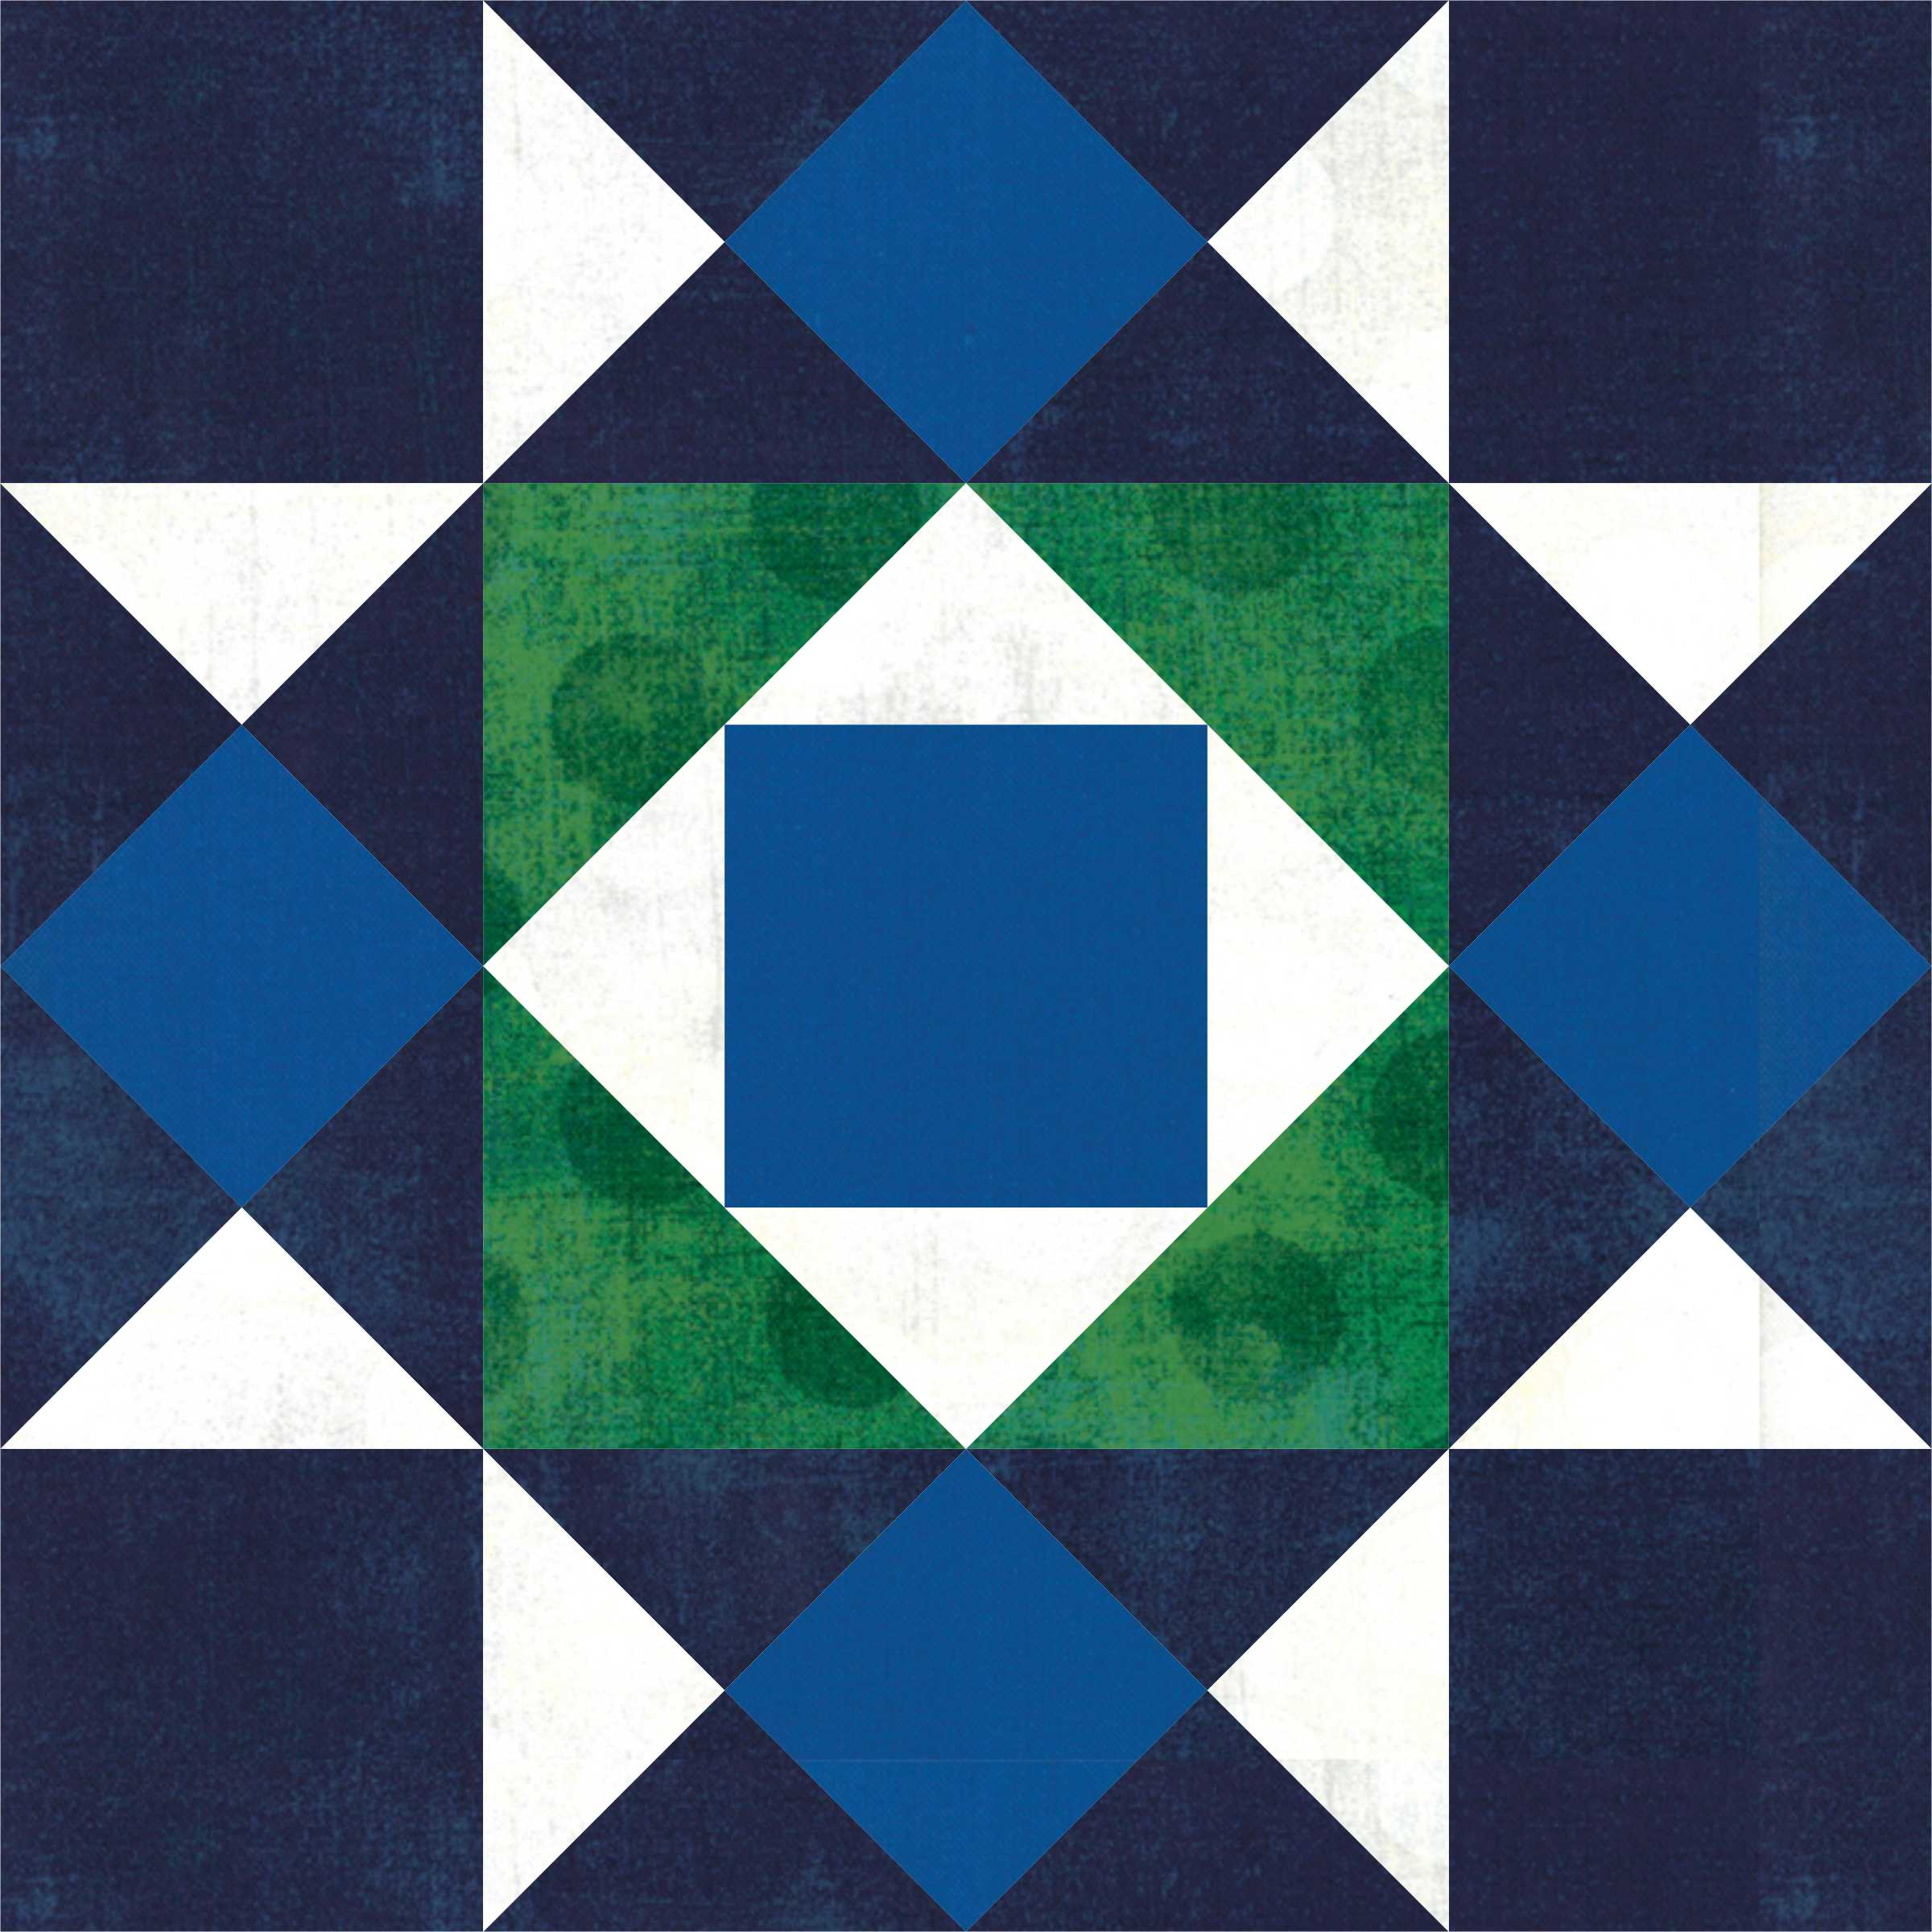
How about some variety? Kate and I thought it might be fun to show you our blocks with different backgrounds – you can always change it up! So here is the Winter Star with a navy background – such a different look from the original – the white piecing sparkles!
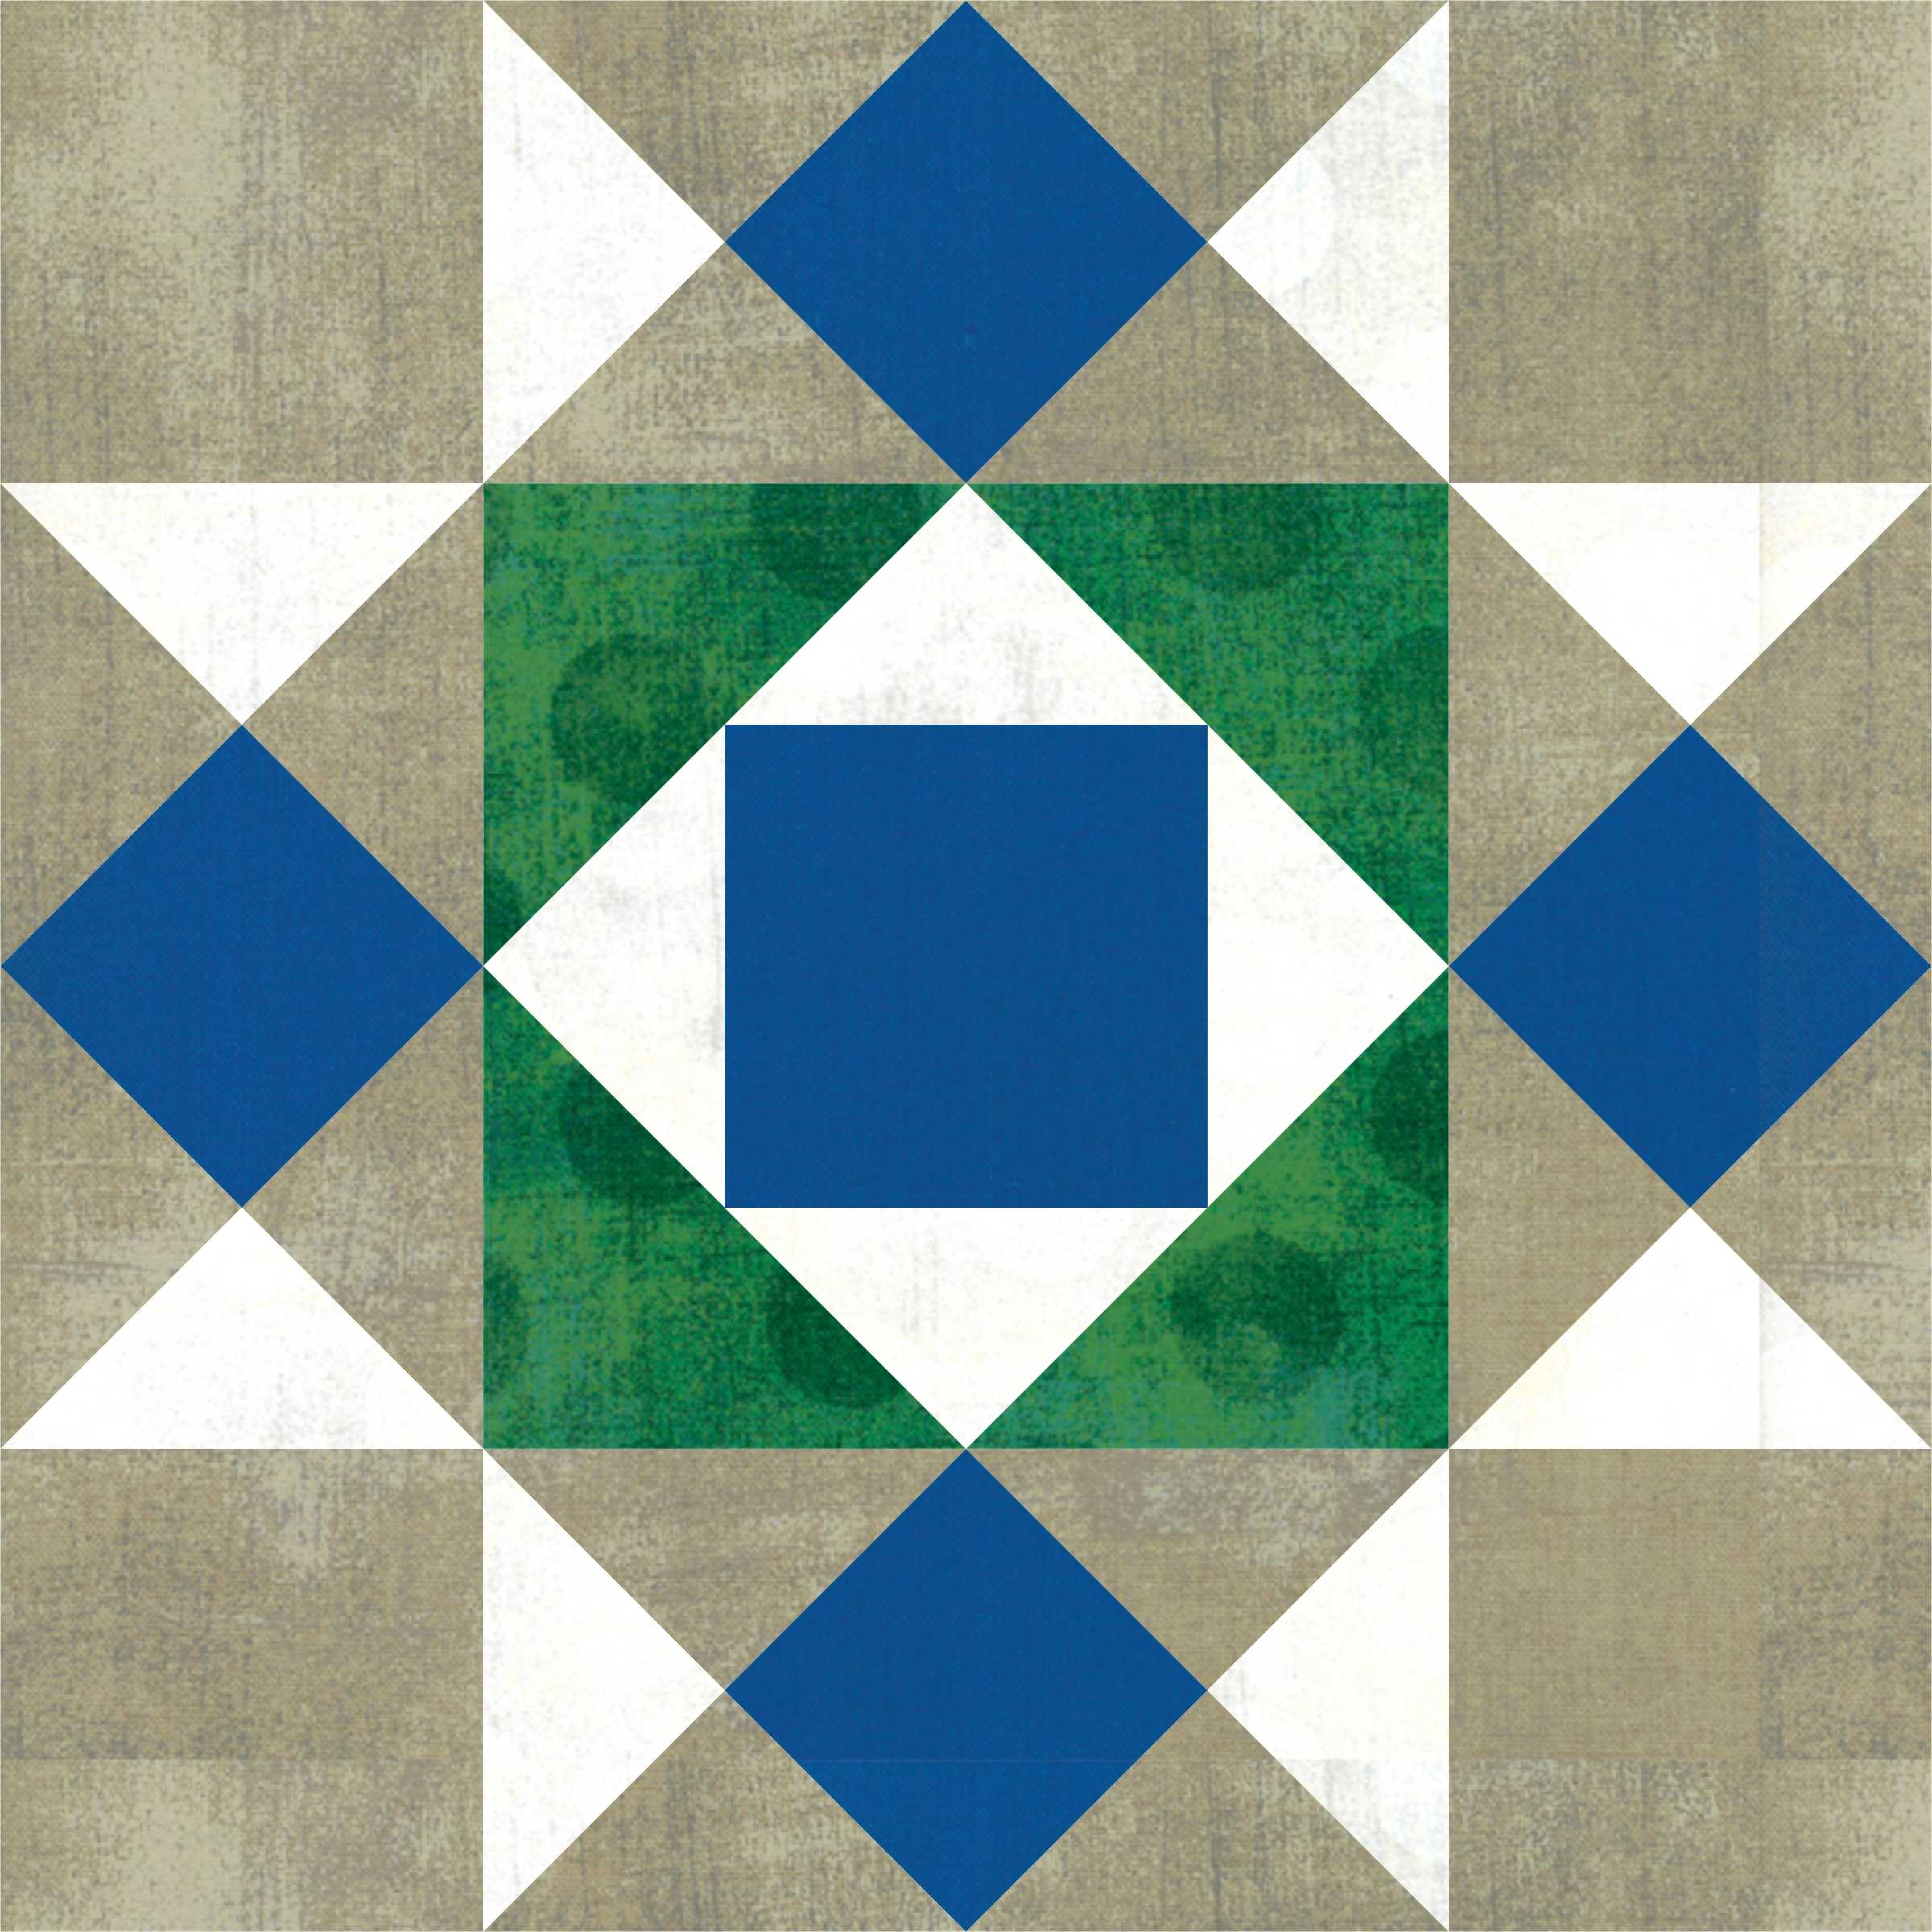
And with a creamy taupe background, blue and green really pop!
I can’t wait to keep the Jingle Bell Pines Block party going next week with Block 4 tips and tricks!
Until next time – have fun sewing the Winter Star – I can almost feel the crisp night air while sewing this one! Hugs! Kris