

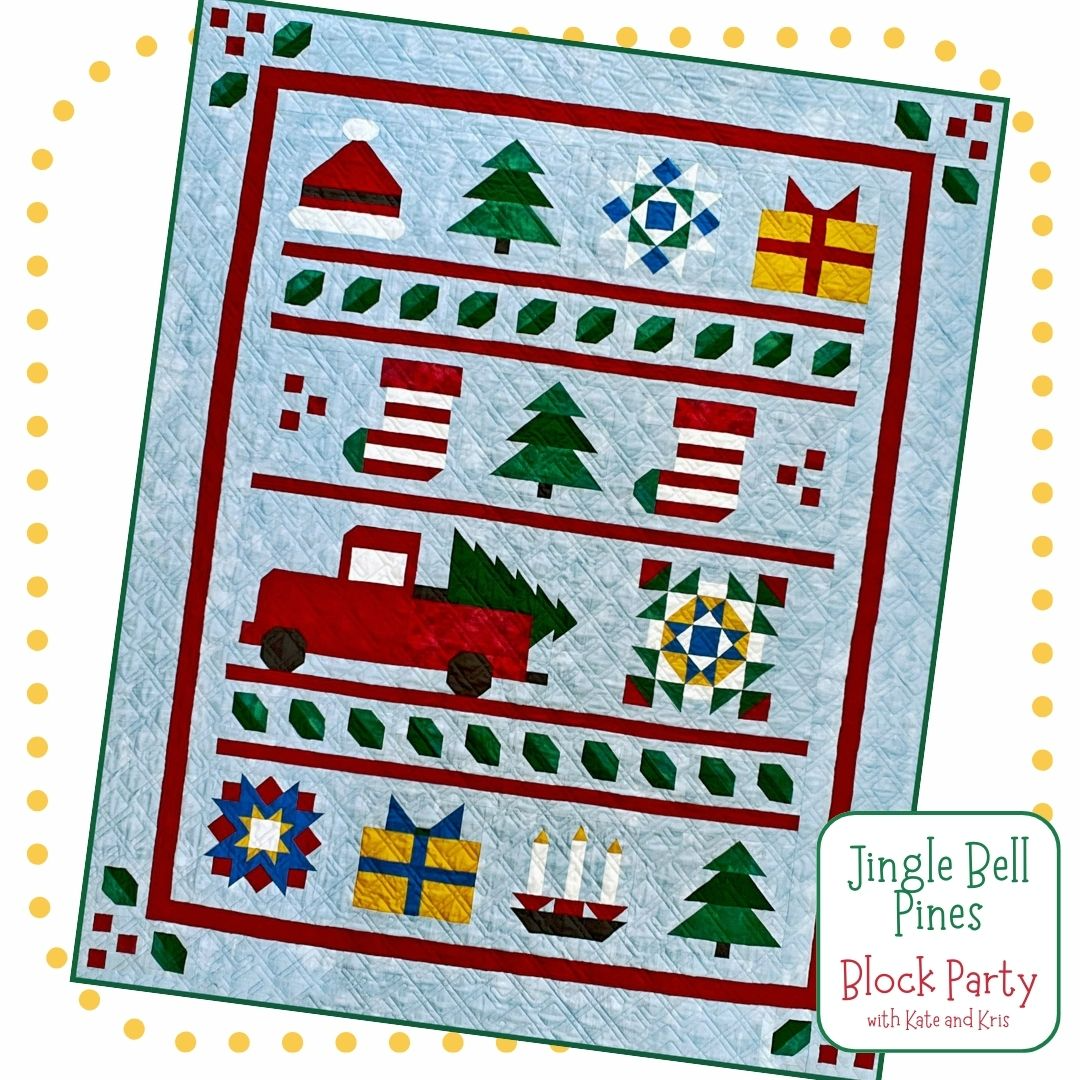
Let the festivities continue with the Jingle Bell Pines Block Party with Block 5!! Join Kate Colleran (of Kate Colleran Designs) and I for tips on completing your Jingle Bell Pines Quilt one block at a time for the holidays! We will post tips (and more) every Thursday on Instagram and delve a bit deeper on our blogs.
For more information on getting started (it’s not too late!) – visit my blog post here!
Today’s block is Jingle Socks! It appears twice in the finished quilt- it’s a strip-pieced block that is easy to complete!

We want those stripes to be straight, so let’s talk about pressing correctly to avoid introducing a curve! Start your strip piecing and follow the process:
1. Starch your fabric before you cut, so that you start with nice straight strips.

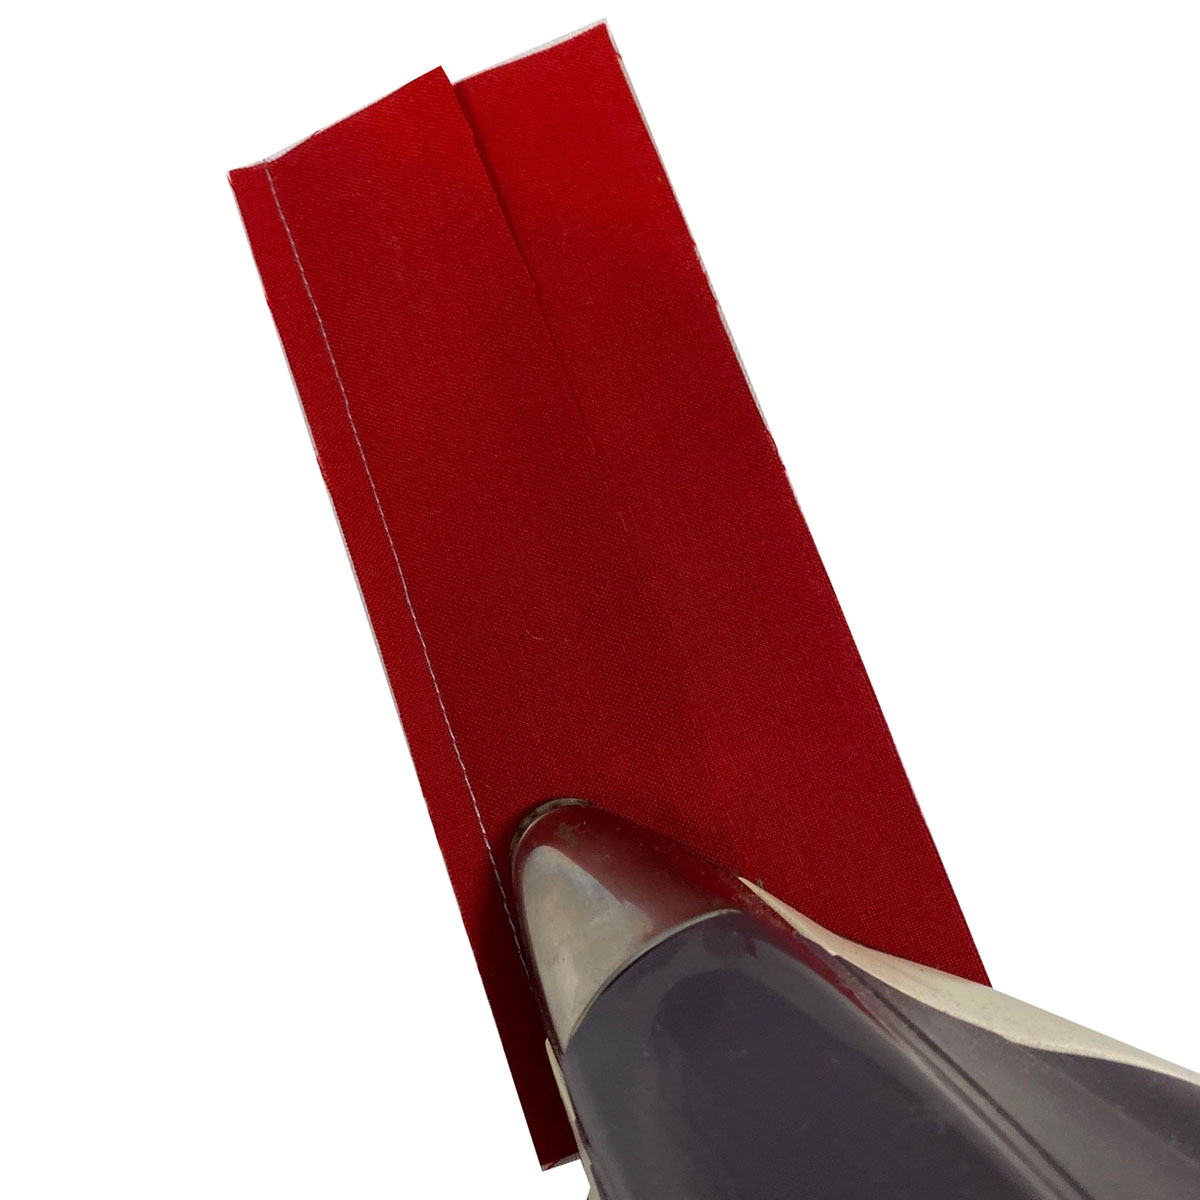
2. Stitch one set of red and white strips together; press flat to “set” the seam.
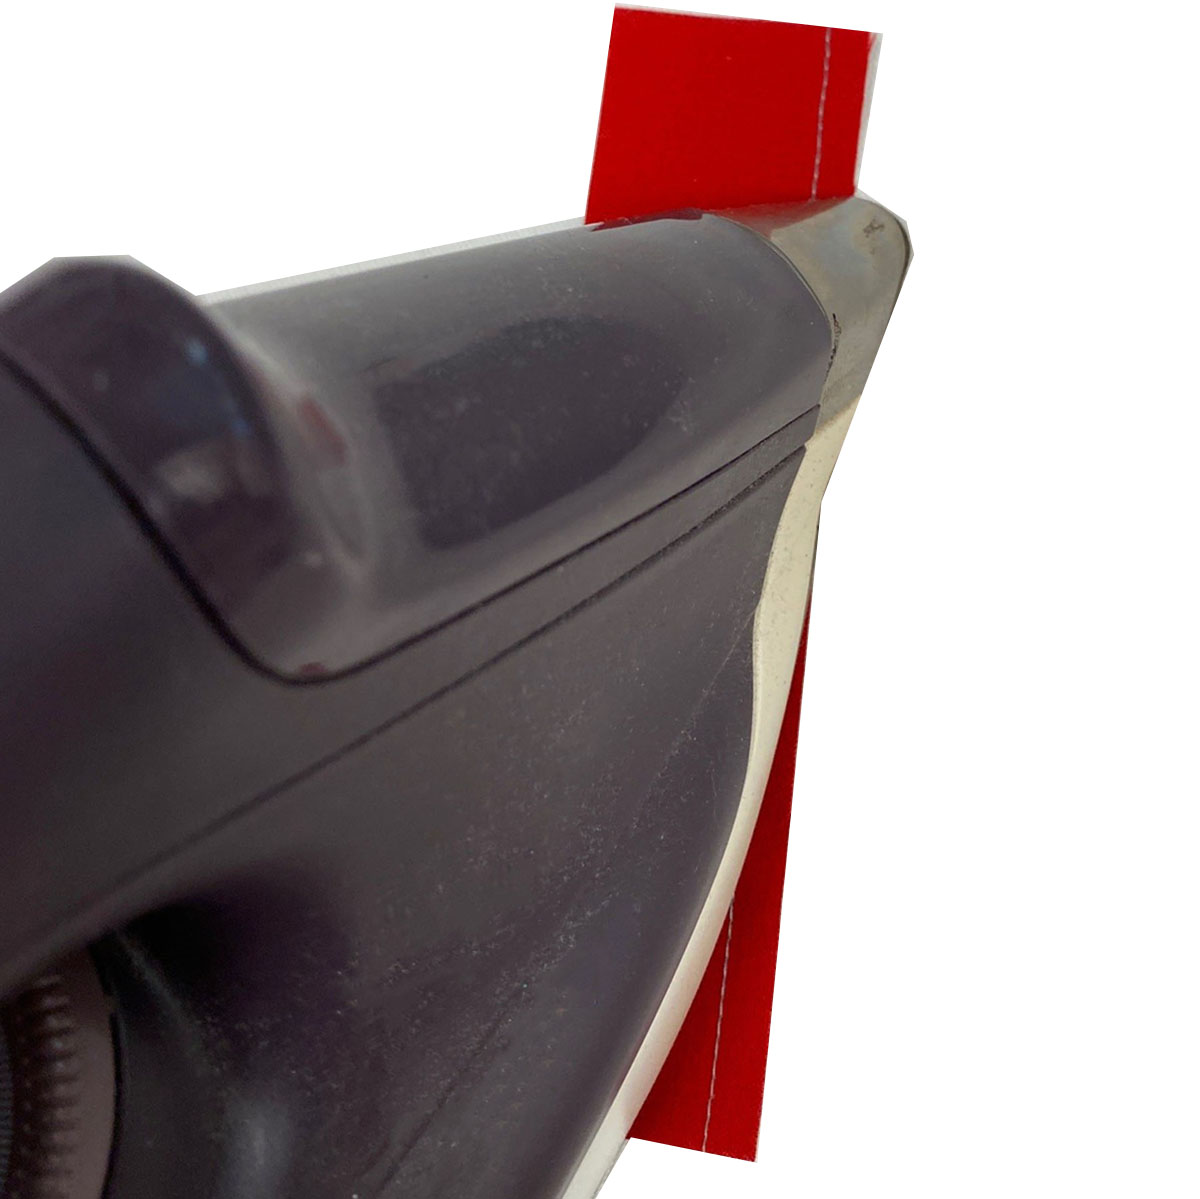
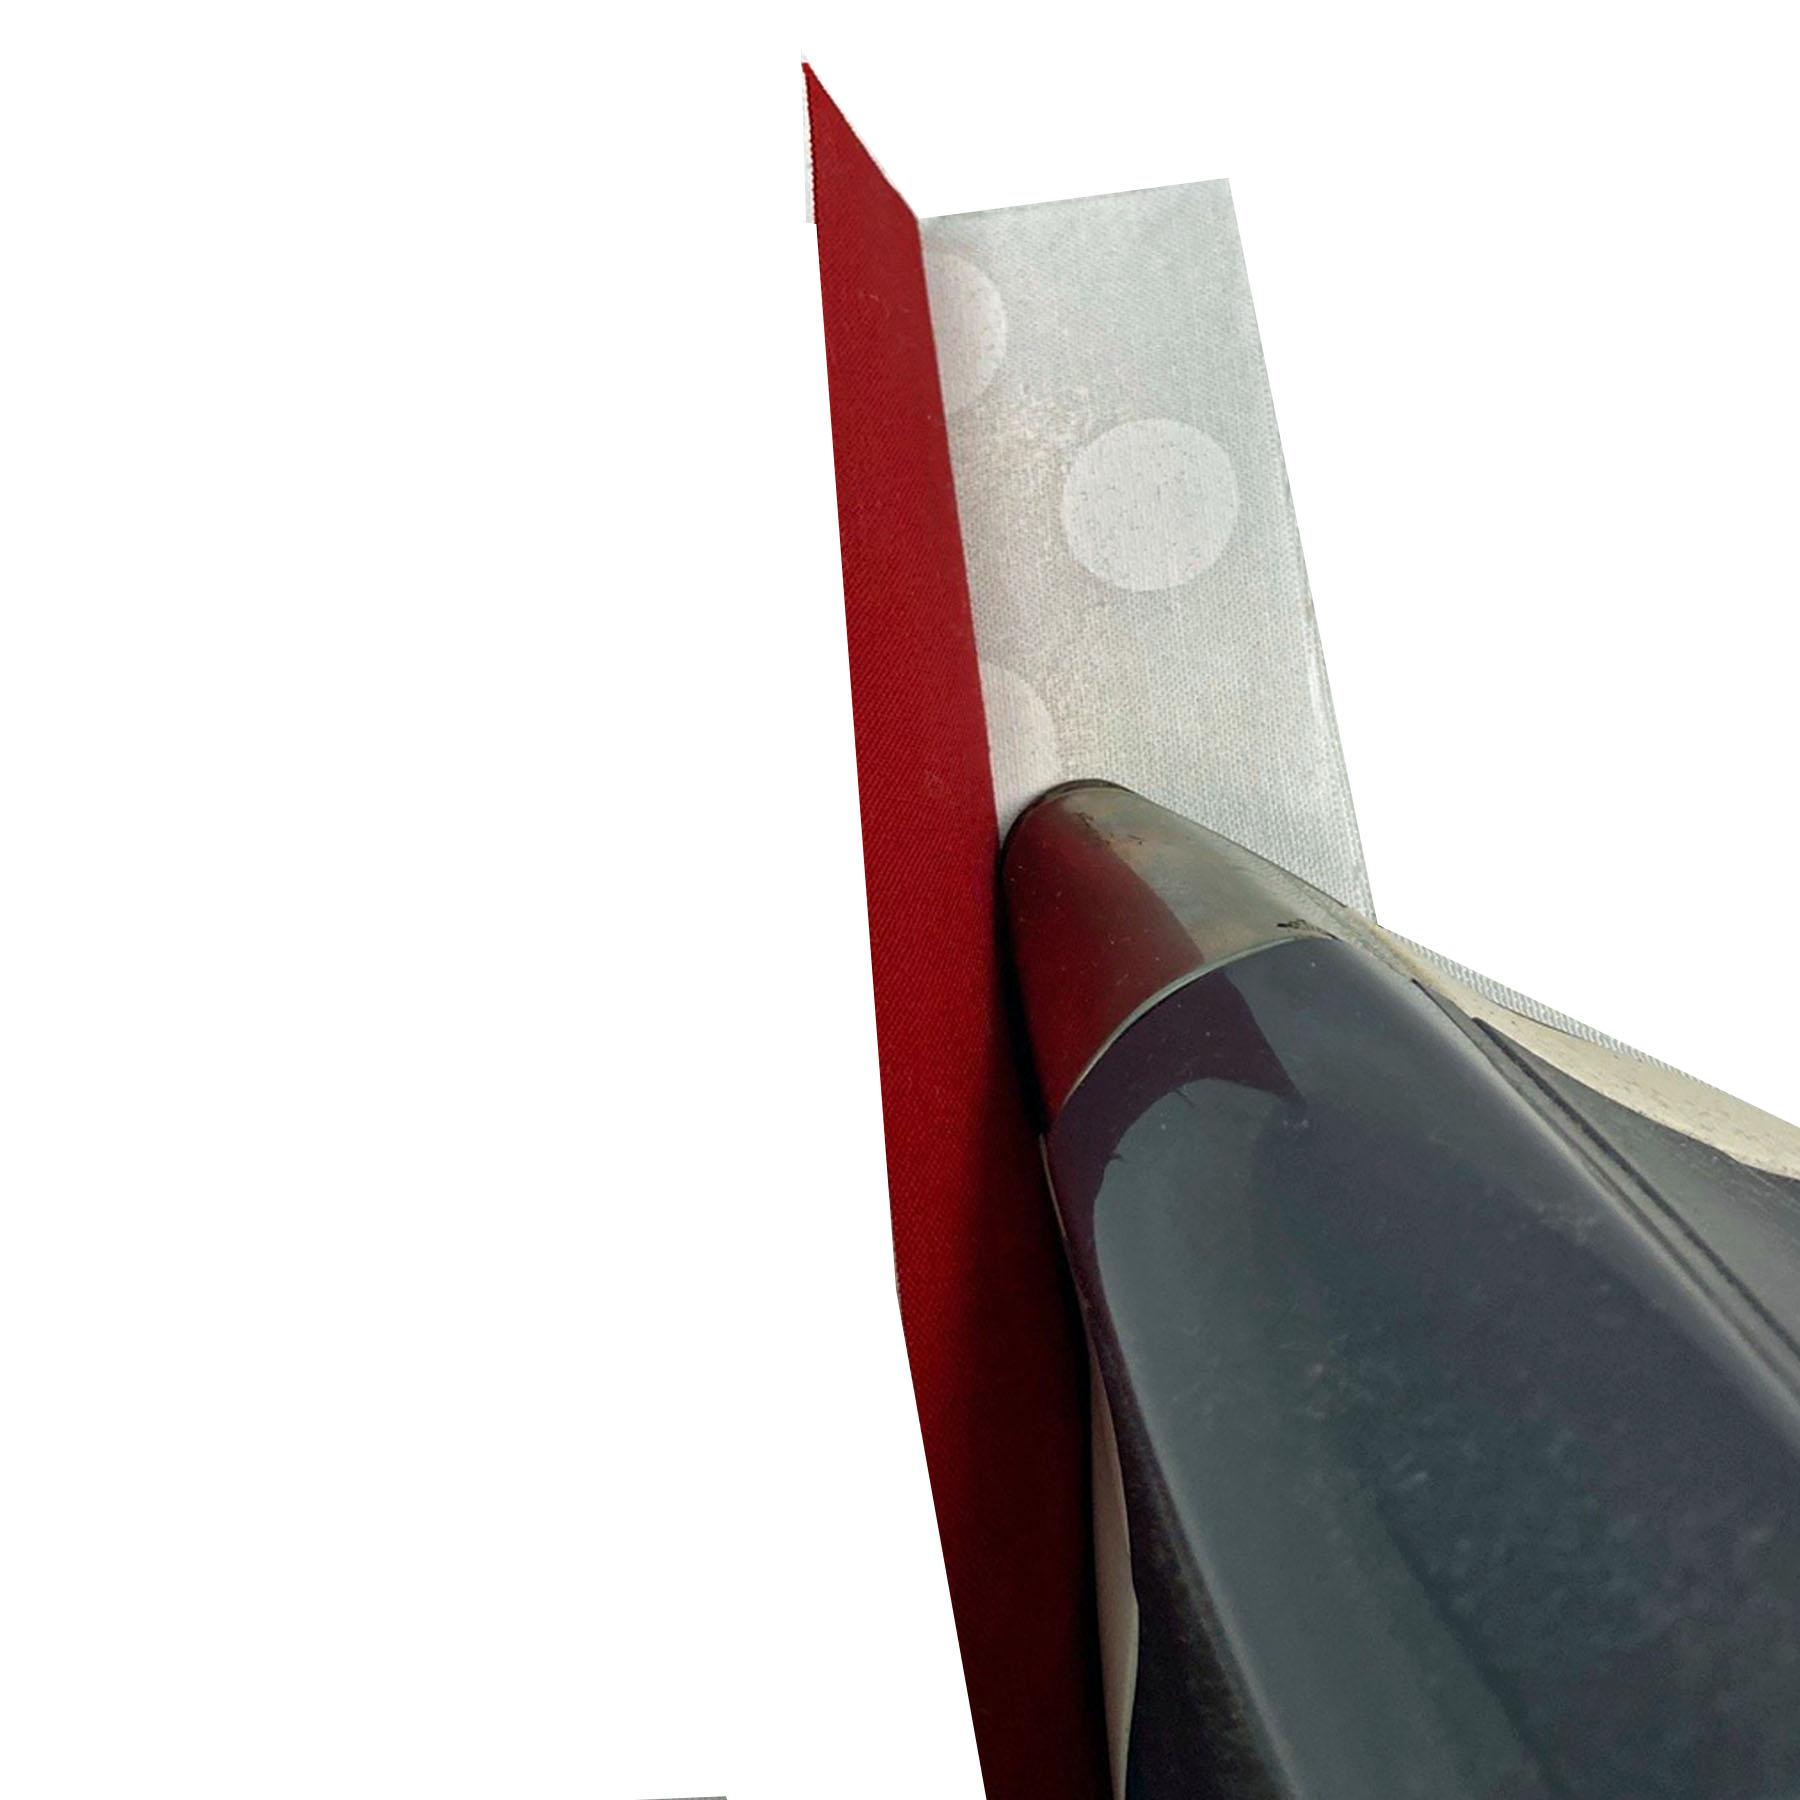
3. Press the seam to the dark side from the back.
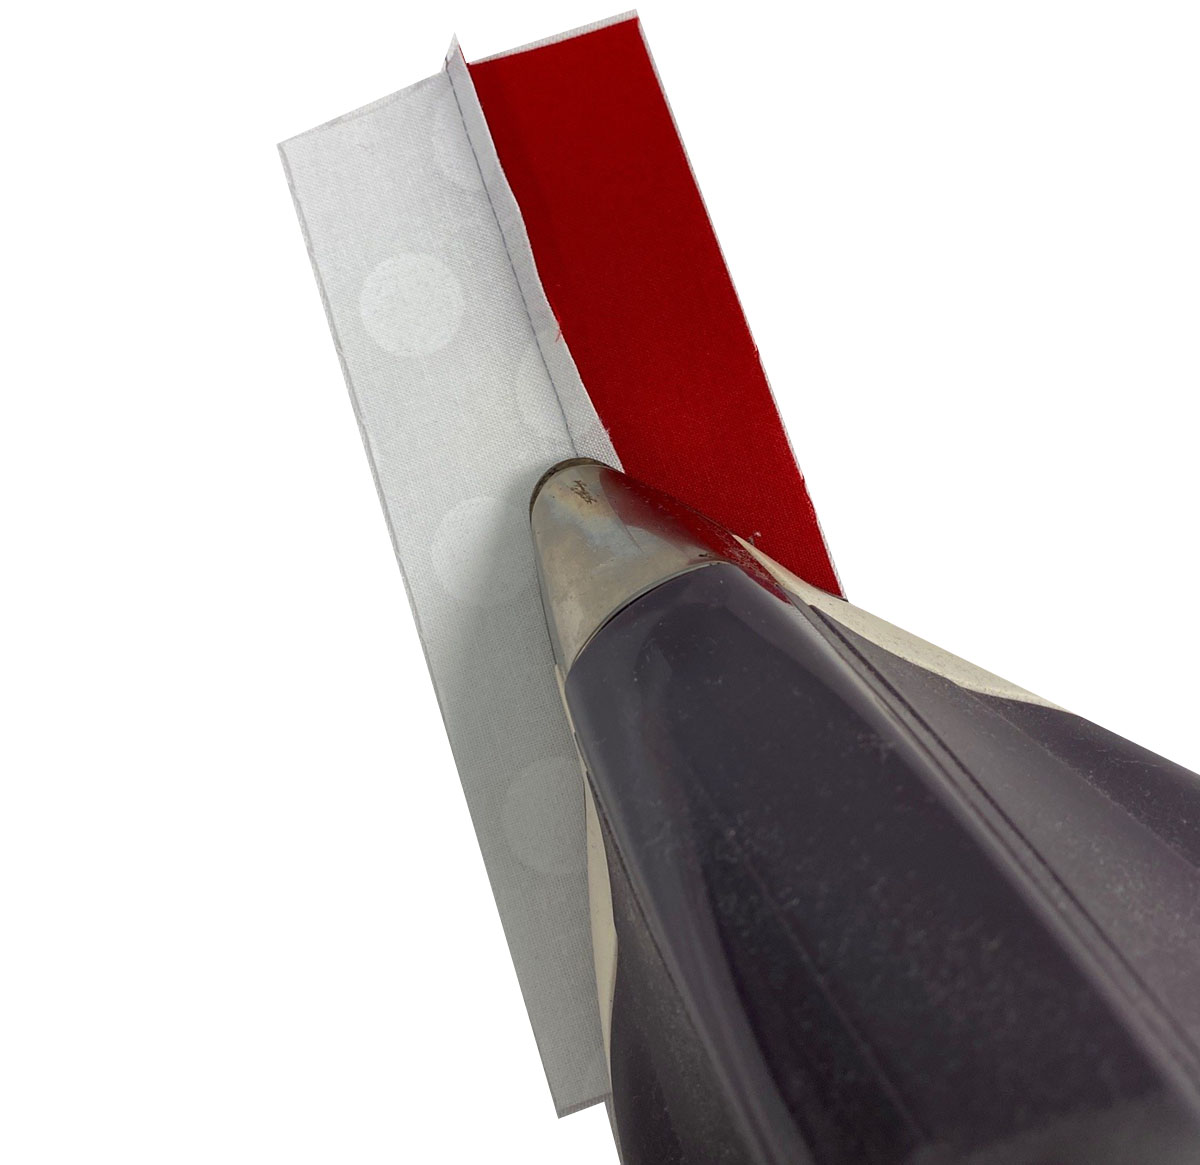
4. Turn the piece over – check to see that you haven’t added any tucks. Press flat again.
5. Oops - If you have added tucks, press the unit flat again from the wrong side (see step 1), and press open right at the seam on the right side. Then press flat from the right side.
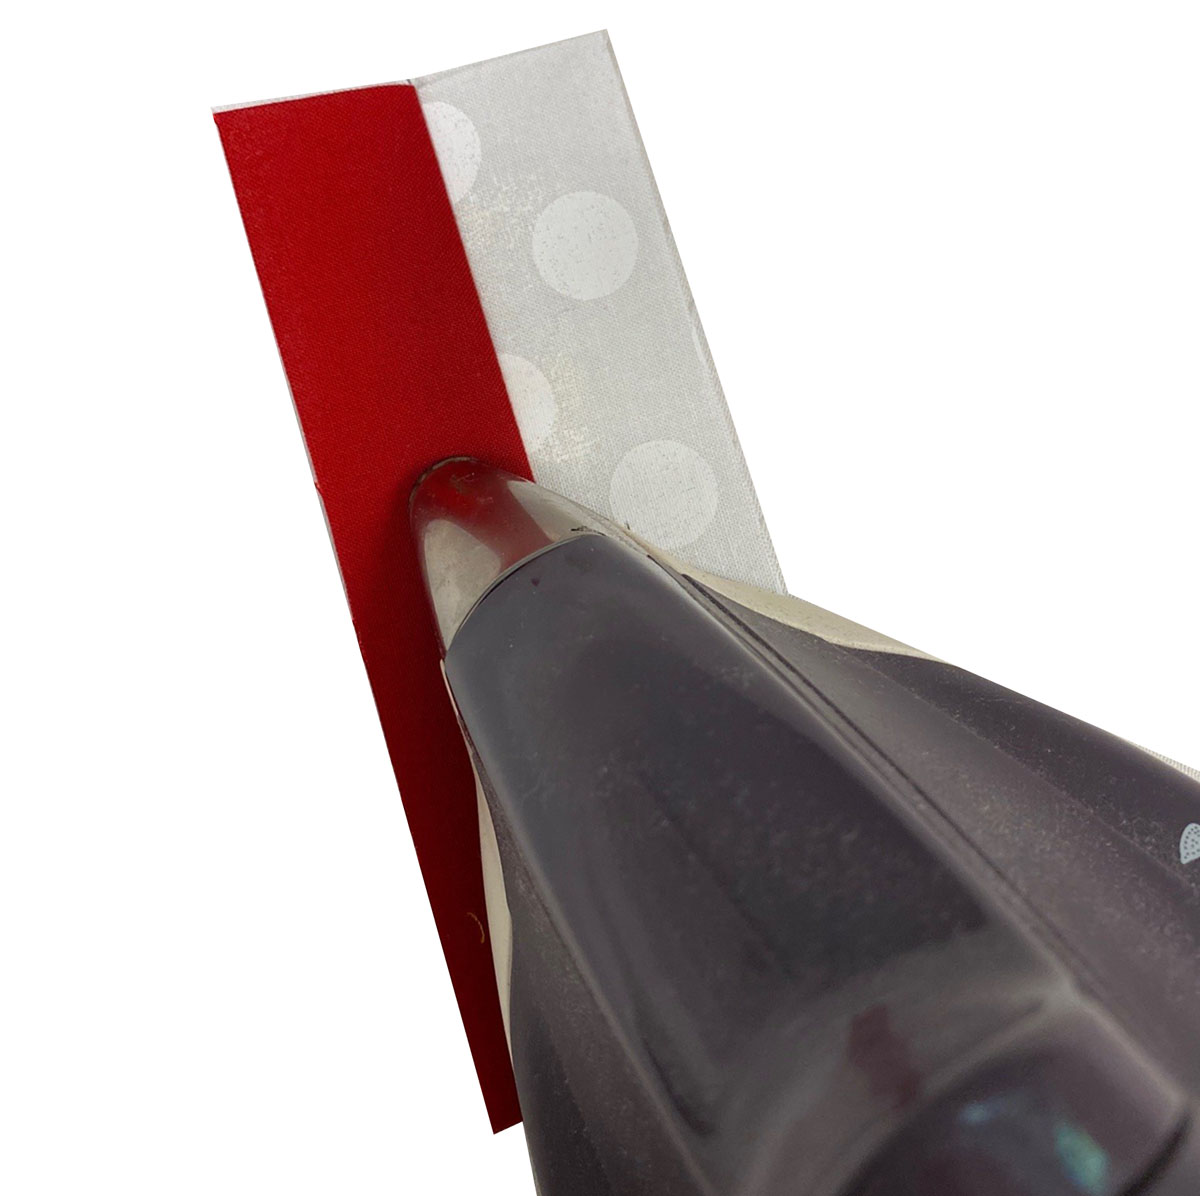
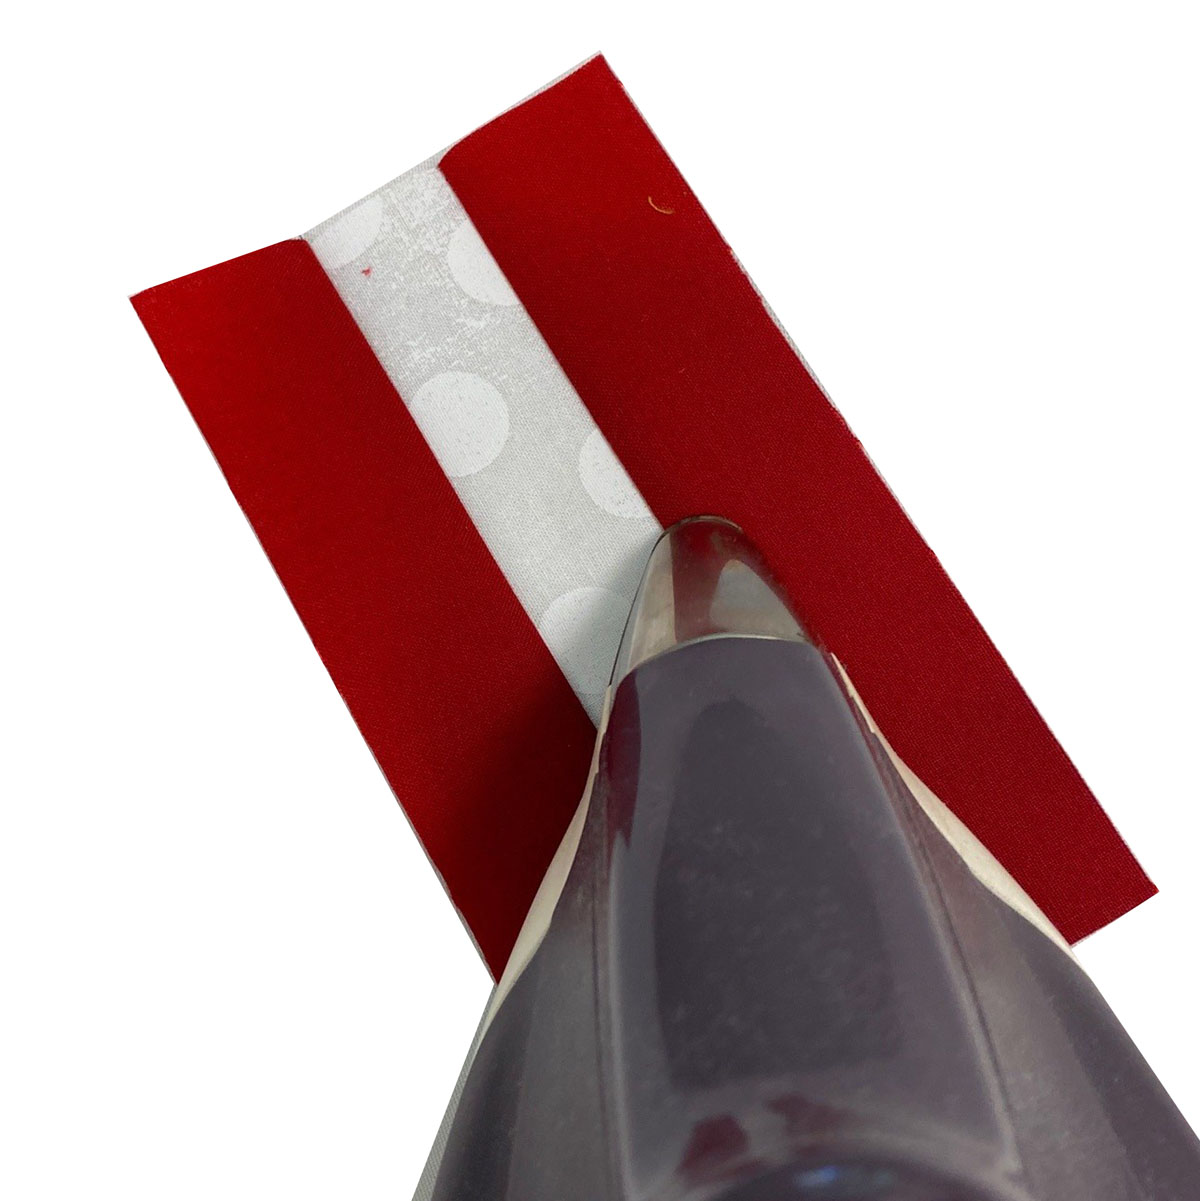
6. Now add the next strip. Press between each additional strip, because you will not get a good press if you try to press multiple strips at once!
Kate and I thought it might be fun to show you our blocks with different backgrounds – you can always change it up! So here are alternate Jingle Socks, with a navy background and a creamy taupe background – fun!


I can’t wait to keep the Jingle Bell Pines Block party going next week with Block 6 tips and tricks! Be sure to come back – the next post is useful! Until next time – have fun sewing up Jingle Socks!
Hugs,
Kris