

The Jingle Bell Pines Block Party starts today!! Woot woot! Join Kate Colleran (of Kate Colleran Designs) and I for tips on completing your Jingle Bell Pines Quilt one block at a time for the holidays! We will post tips (and more) every Thursday on Instagram and delve a bit deeper on our blogs.
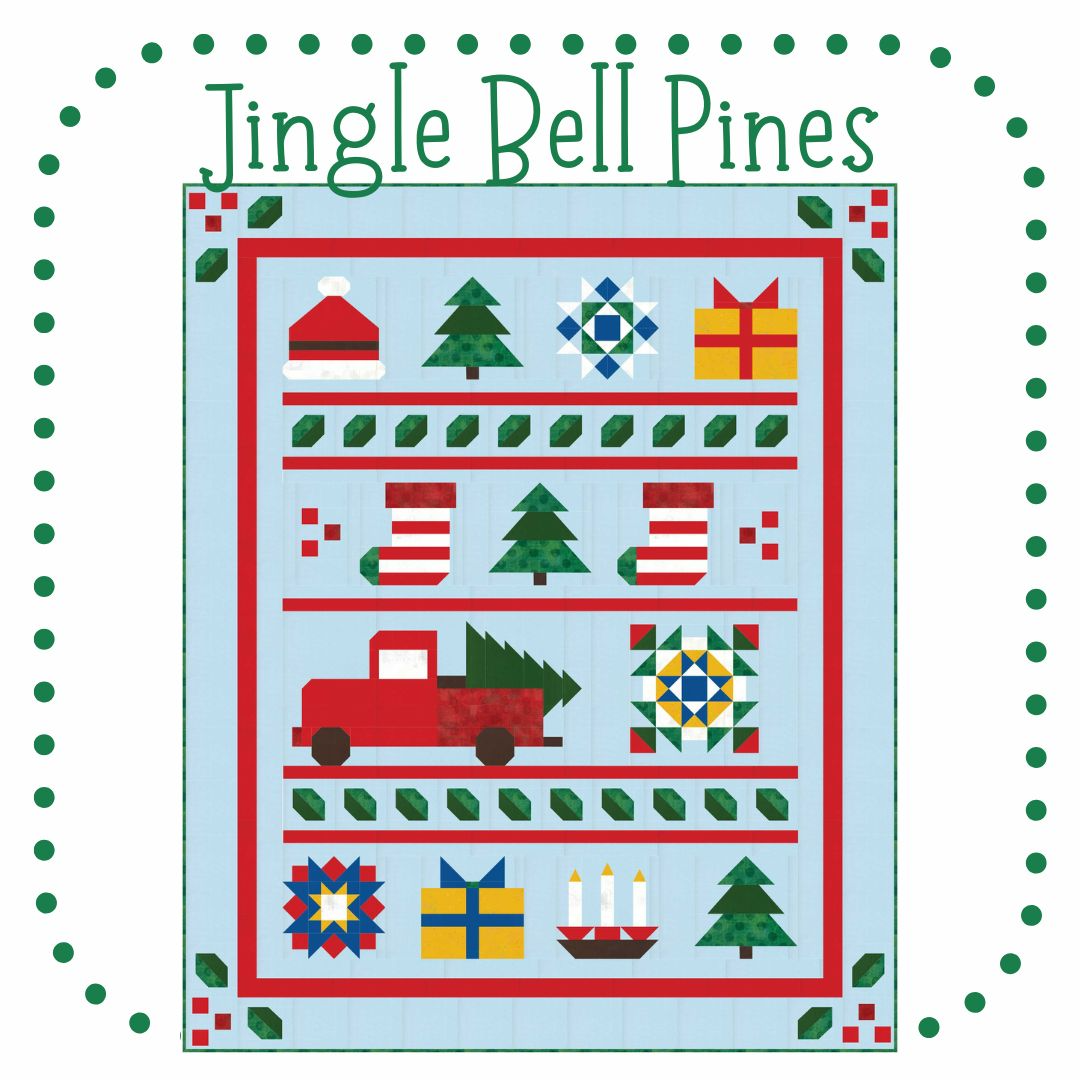
Our tips will focus on a technique that is used in the block that week; full instructions are in the pattern (available here). We will not be giving out measurements in our posts. For more information on getting started (it’s not too late!) – visit my blog post here!
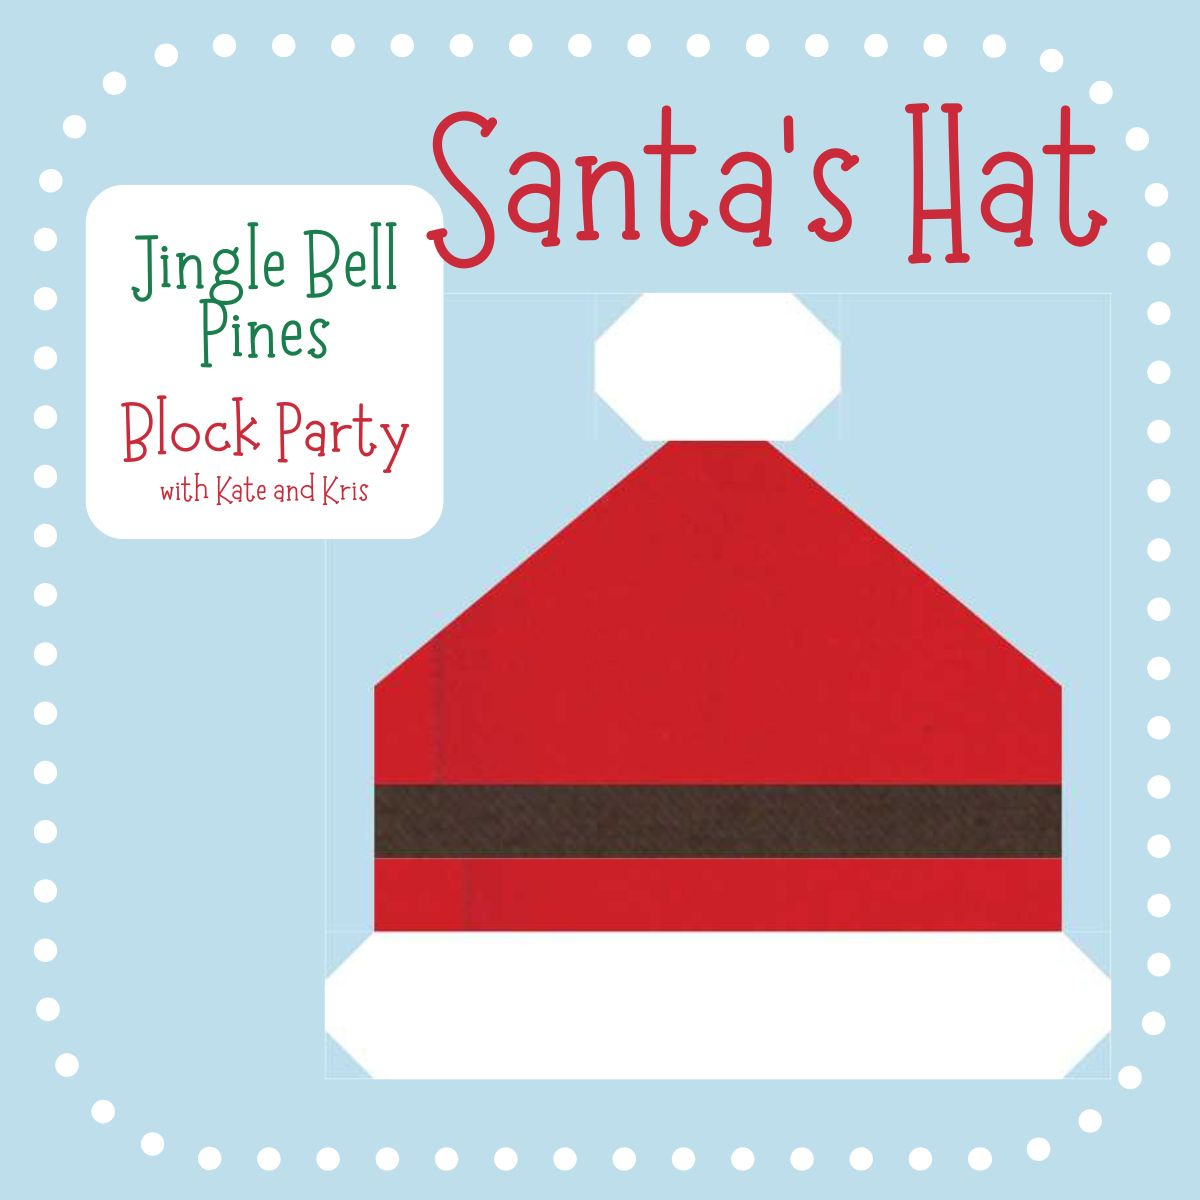
Let’s start with block 1 – it’s Santa’s Hat! It’s a simple pieced block that uses the stitch and flip technique. This method adds a corner triangle to a larger unit. It is so handy to have this technique in your back pocket, so let’s dive in! (Scroll down to the end of the post to link to all of the other posts that were done during the Jingle Bell Pines Quilt Along!)!
In a nutshell, here are the stitch and flip method process steps:
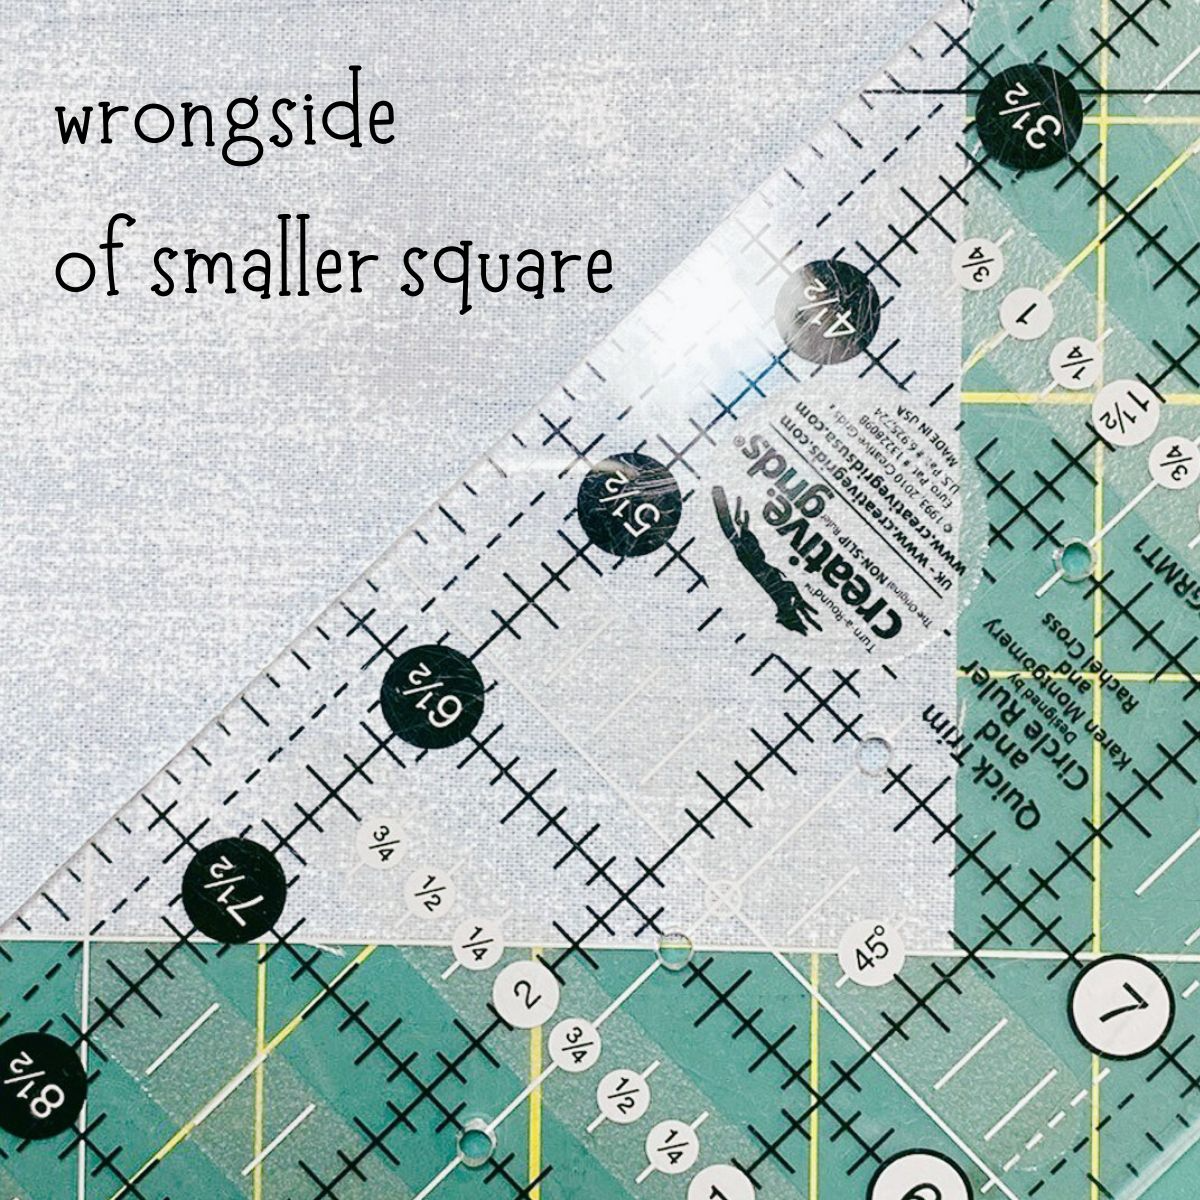
- Mark the smaller square diagonally on the wrong side.
- Place it on the larger square’s corner, right sides together.
- Stitch along the line, flip, and press.
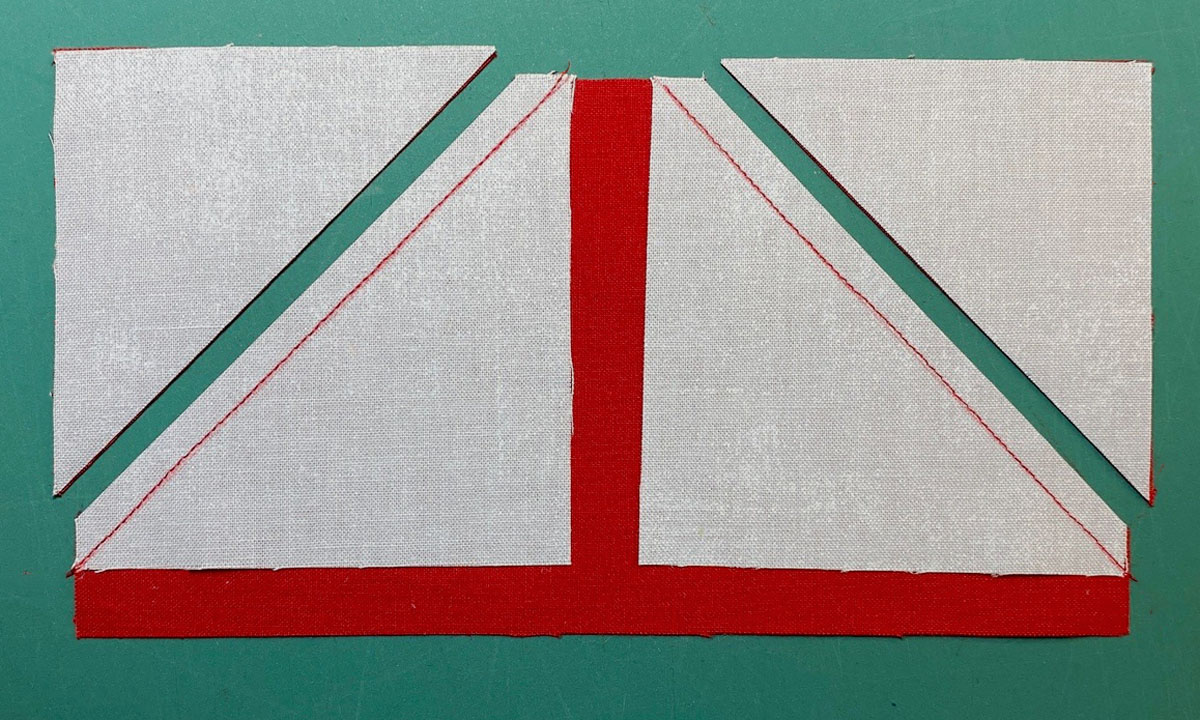
For the Santa’s Hat, we make a unit with a large rectangle and 2 smaller background squares that we stitch and flip!
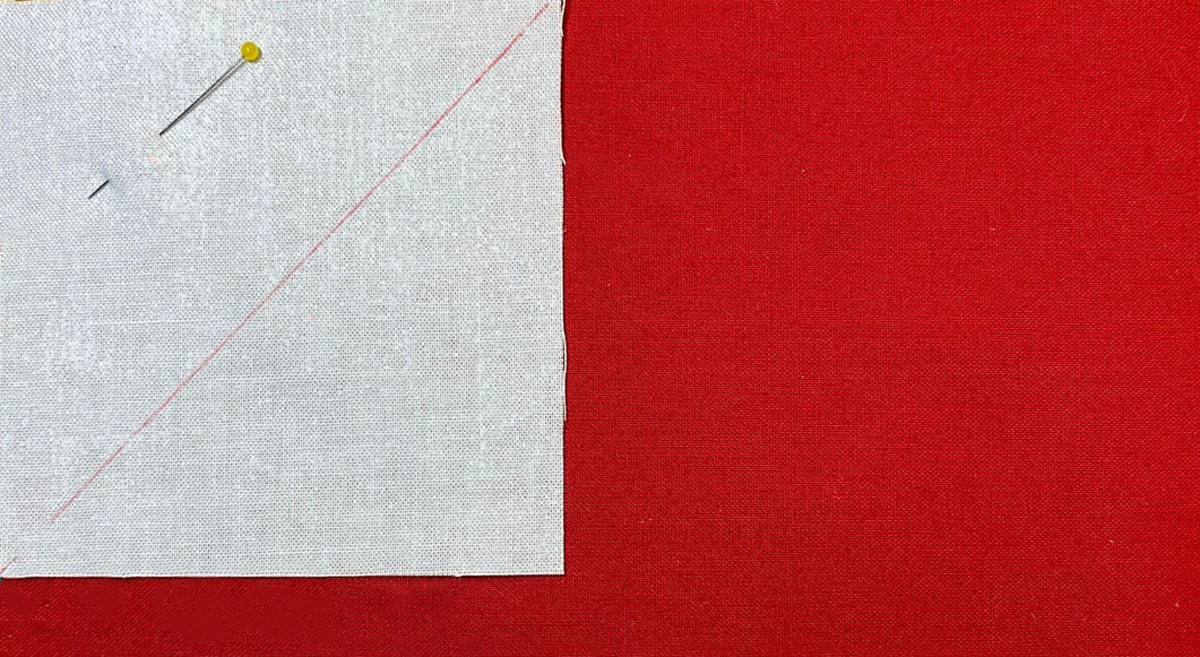
To mark the diagonal on the smaller background squares, place the ruler's 45-degree line along one edge of the square, then draw a line from corner to corner.
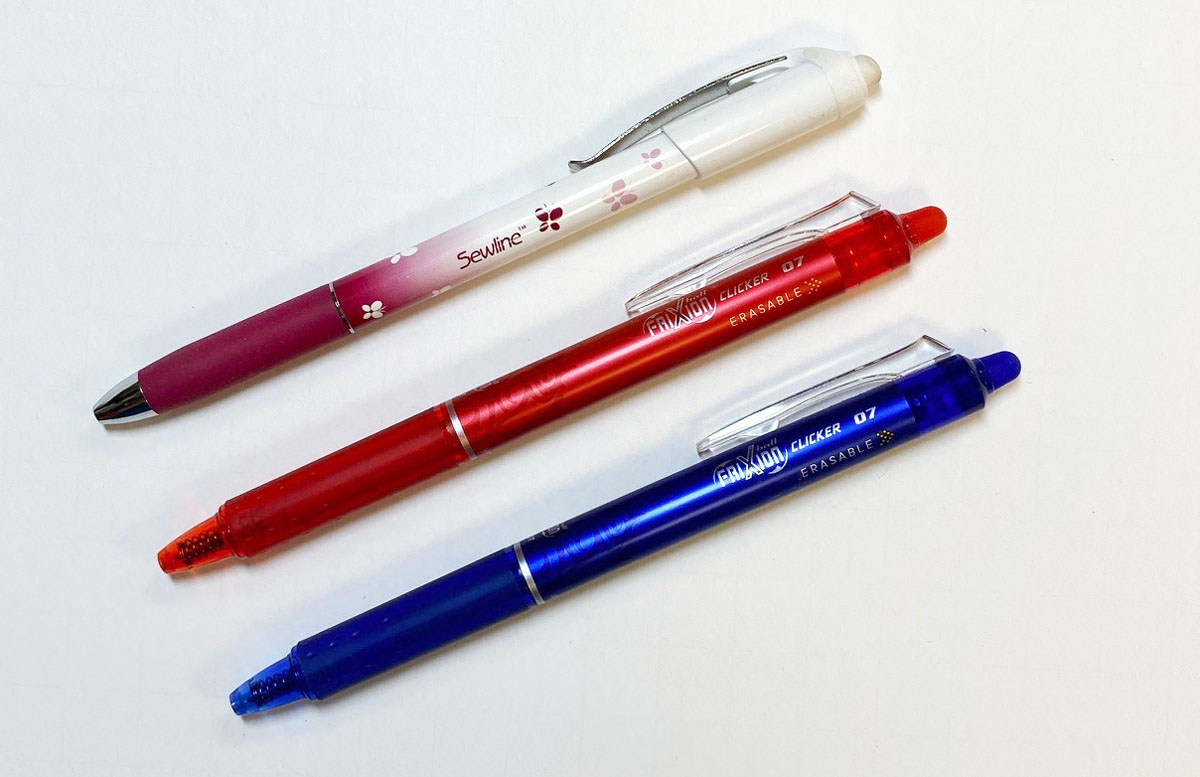
Let’s talk tools – my favorite marking pens for marking my piecing are Frixion (Clicker 07) pens. If I have a dark fabric, I will mark it with the Sewline chalk pencil. Overall, it is important to me to have a pen that draws an accurate, thin line. Use your favorite pen, and don’t be afraid to try others!
Place your marked squares on your larger piece and align the edges (right sides together) so that the drawn line forms a triangle on the correct corner(s). I place a pin in the corner, but not along the line. I find it easier to remove.
Stitch just beside the line, approximately a needle-width away, on the side of the line that faces the corner (the side with the pin in it). This allows just a bit of extra space for the fold!
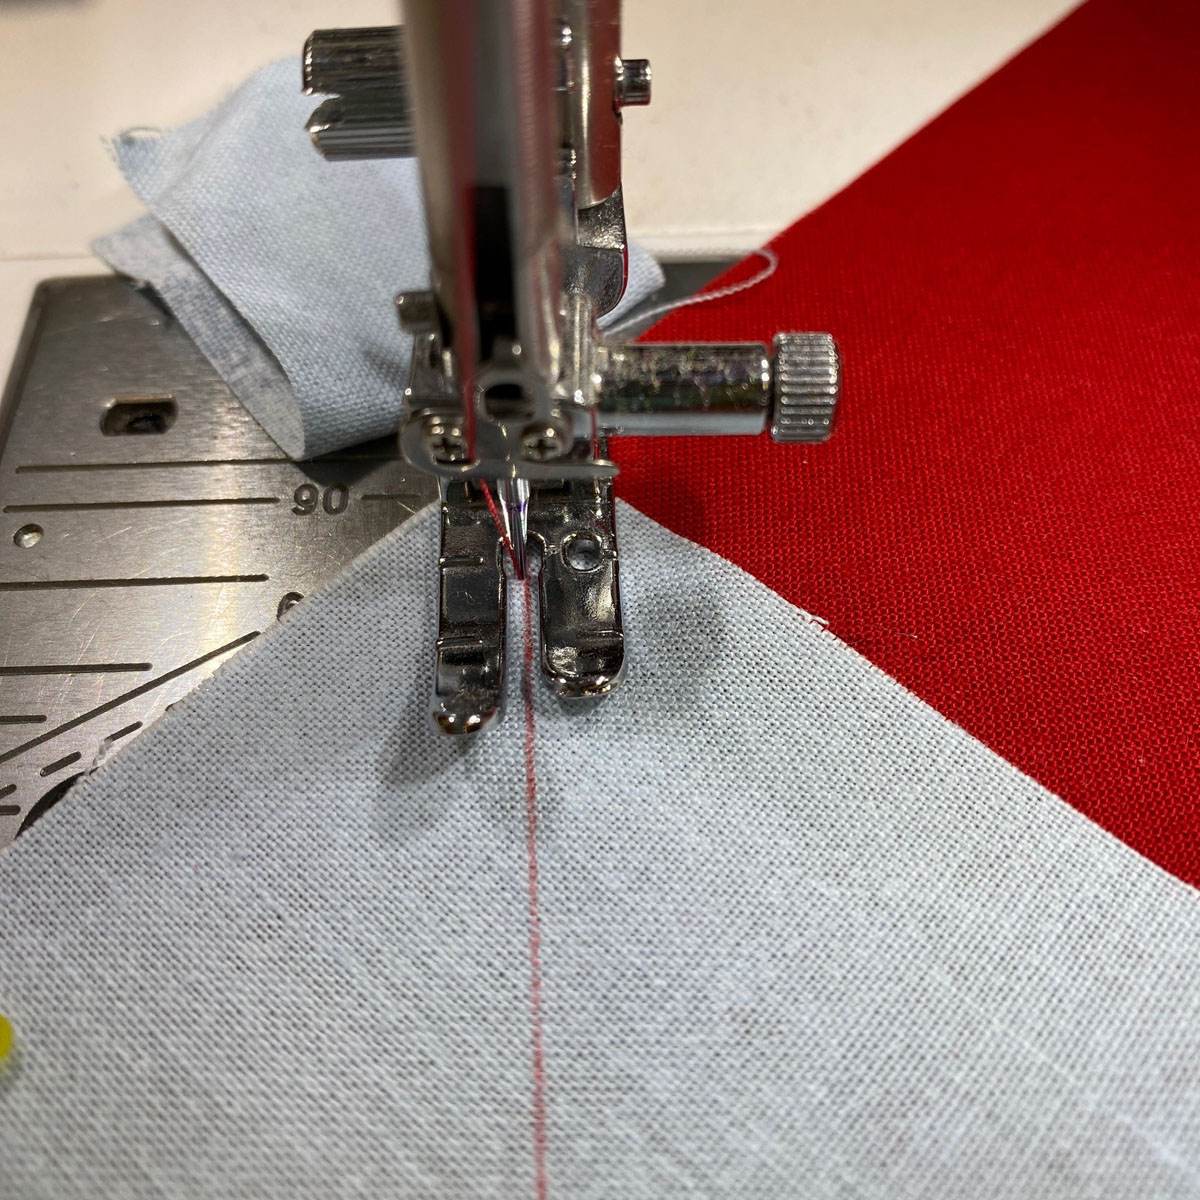
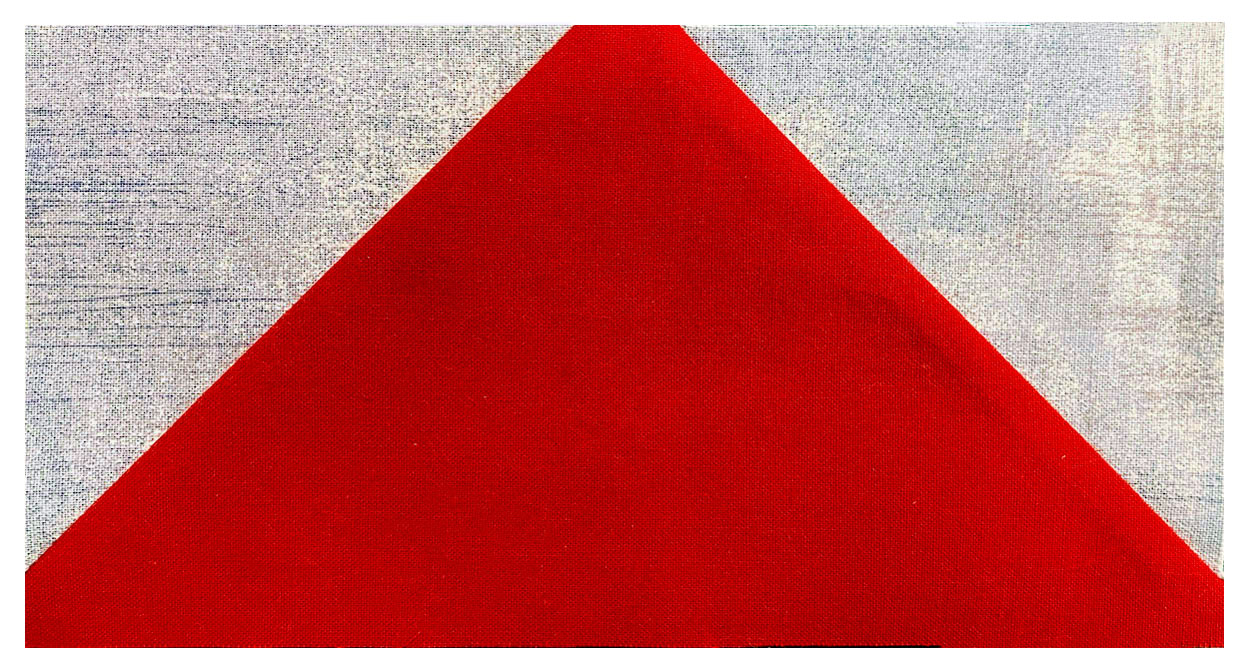
And here is the first side sewn.
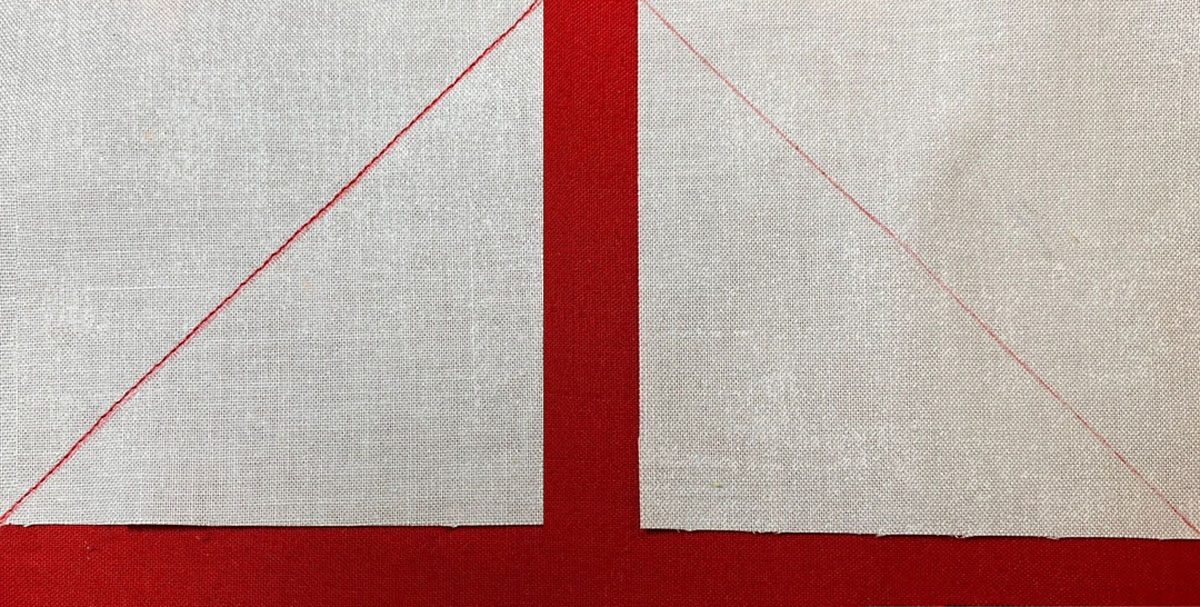
And for the block, we sew both sides, then cut away the extra as shown.
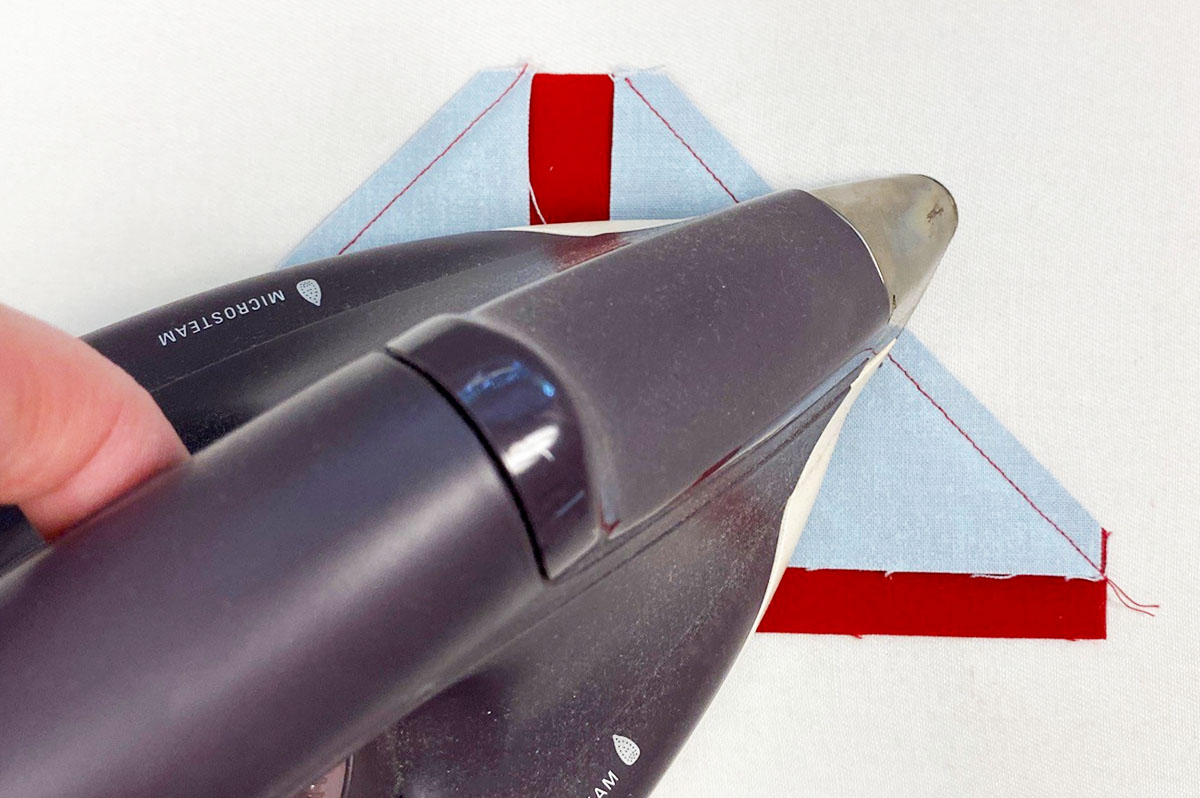
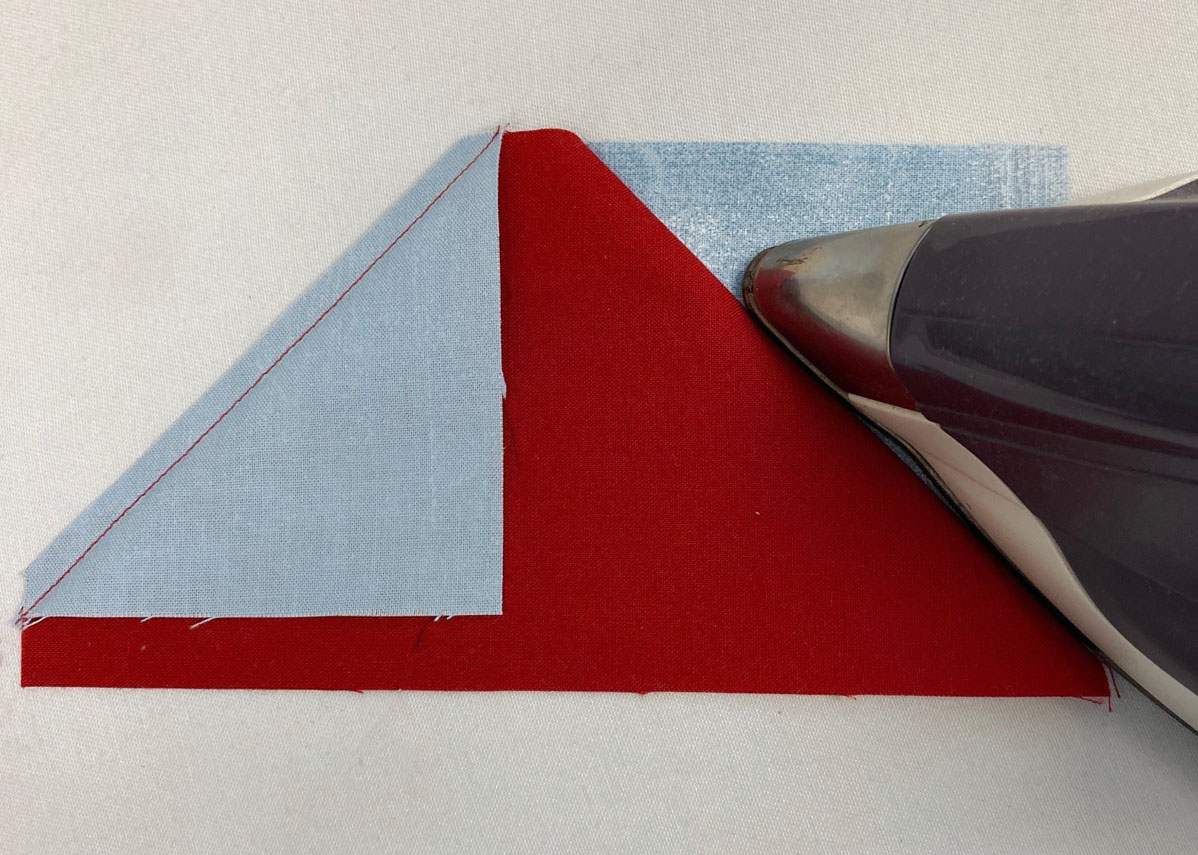
We are pressing toward the red fabric. in this case. To press, I like this 3-step method:
- Press the unit flat.
- Press along the fold, on the piece that will be pressed under (the background).
- Press the unit towards the red fabric.
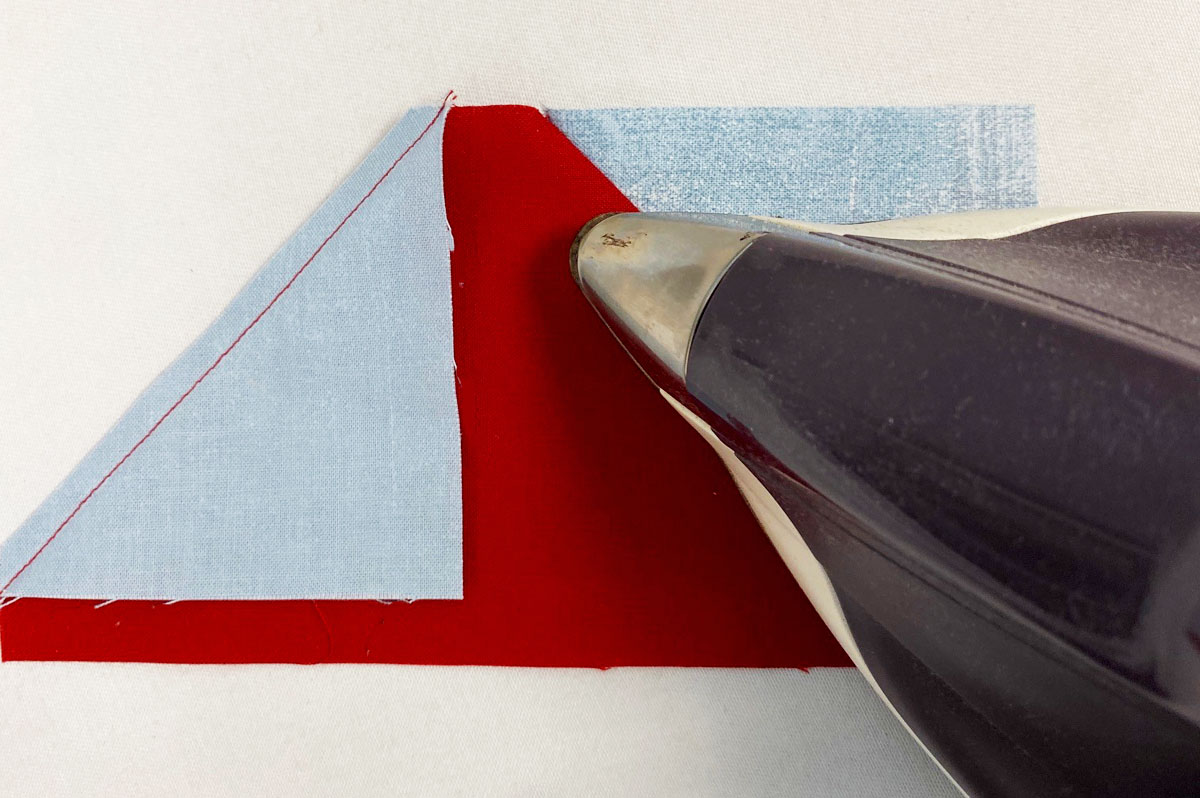
The final pieced unit looks like this - easy peasy!
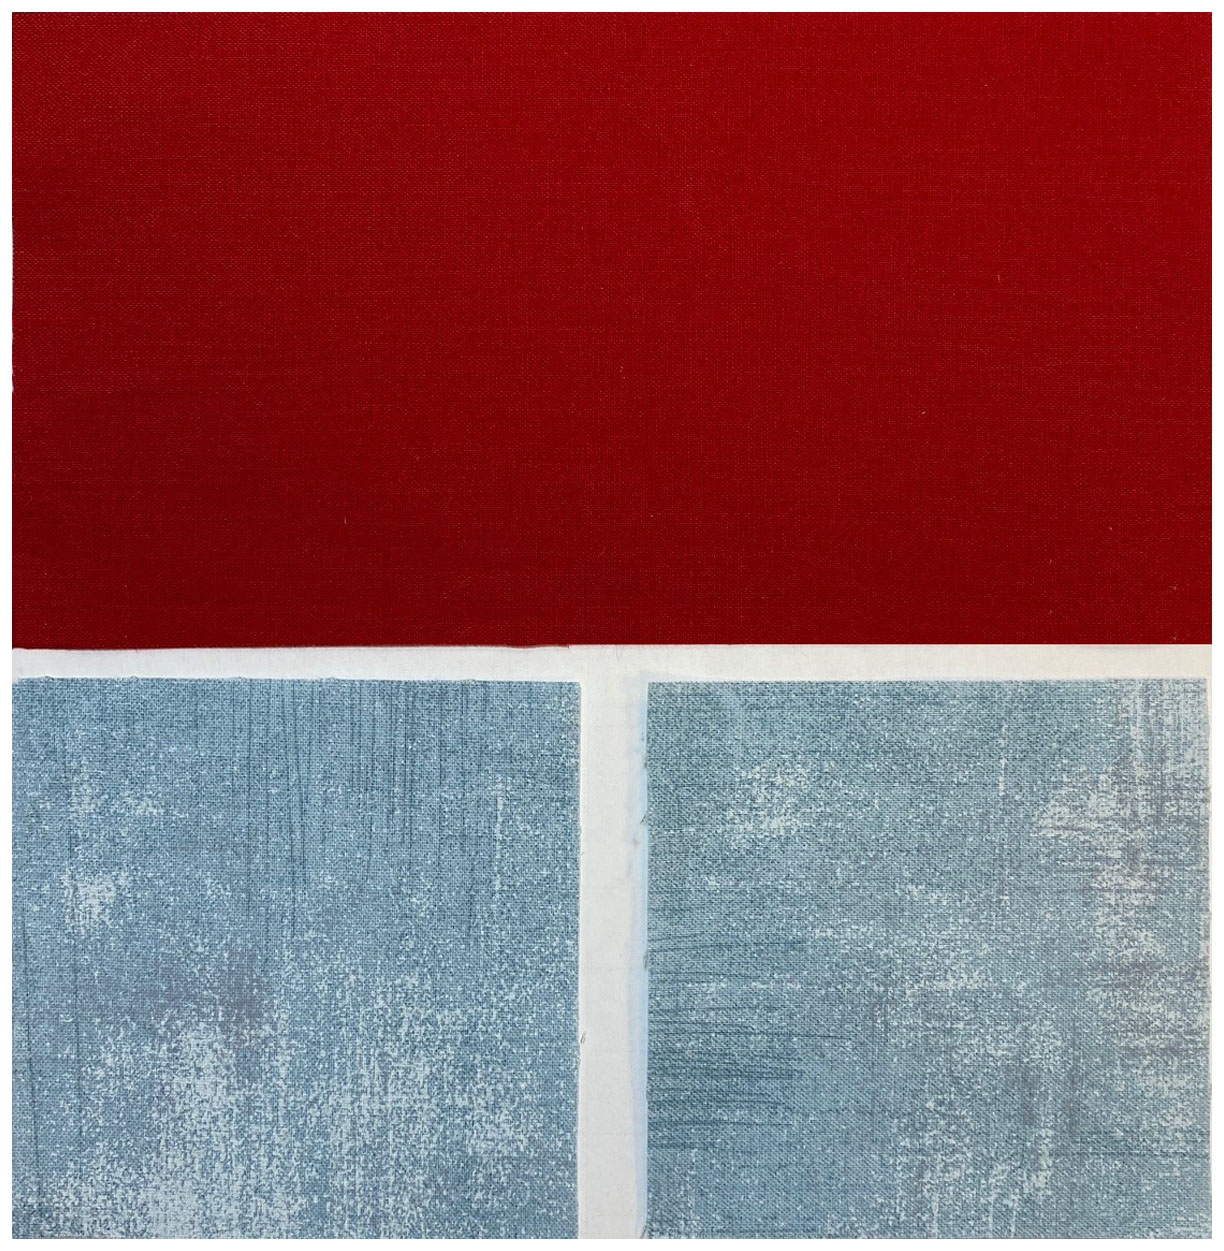
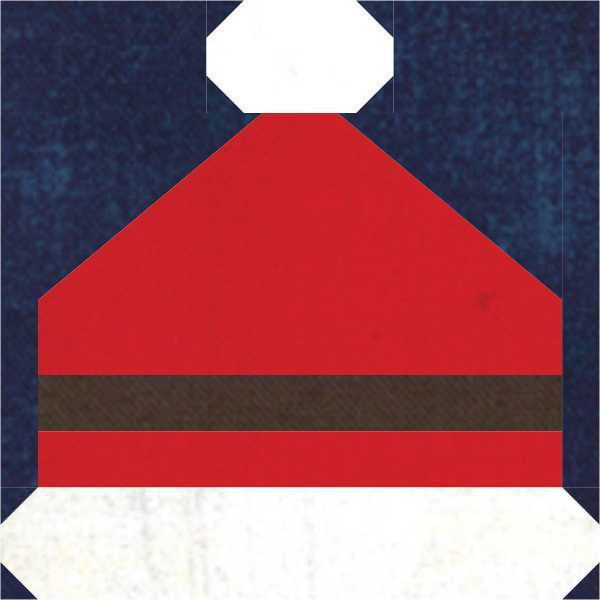
Kate and I thought it might be fun to show you our blocks with different backgrounds – you can always change it up! So here is Santa’s Hat with a navy background – cozy!
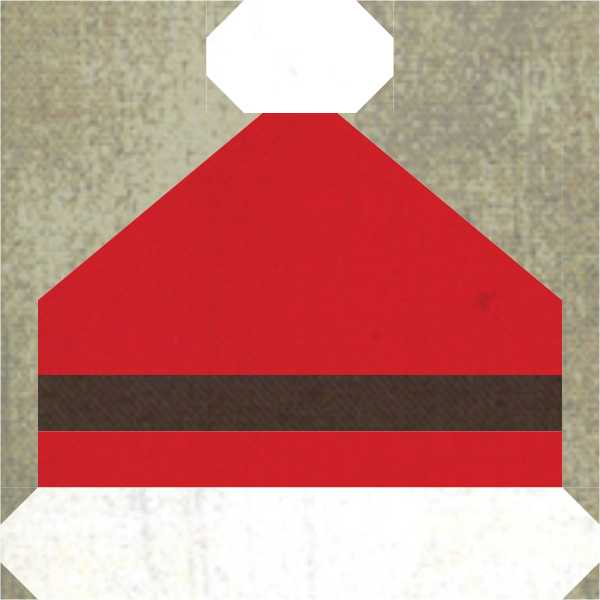
And here is his hat with a creamy taupe background – fun!
I can’t wait to keep the Jingle Bell Pines Block party going next week with Block 2 tips and tricks! Until next time – have fun sewing block 1 - Santa’s Hat and get your jingle on!! Hugs!
Kris
Here is a list of the blog posts that we did for this Quilt Along - click below to get to all of them!